Huge shoutout to Arknights: Endfield for surpassing 35 million players worldwide and earning a nomination for Best Mobile Game at Gamescom!
This innovative strategic 3D action RPG expands the acclaimed Arknights universe, taking you to the perilous and untamed frontier of Talos-II.
You will play as the Endministrator to explore alien landscapes, construct automated industrial bases, and command a squad of Operators to battle the mysterious Aggelos in high-octane tactical combat.
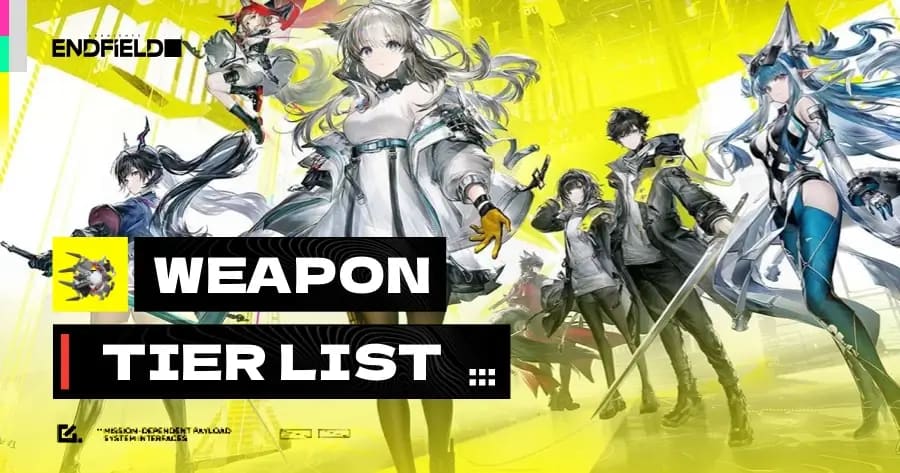
Want to build the ultimate squad efficiently? Resources on Talos-II are scarce! An Arknights: Endfield Tier List helps you identify the strongest Operators, ensuring you invest your precious Sanity and materials into the right characters without wasting a drop.
Don't miss out! We have analyzed the Launch Meta for 2026, ranking every Operator from Tier 0 powerhouses to niche picks. Check the rankings below to assemble your dream team in seconds!

All Arknights: Endfield Characters Ranked
This tier list ranks all 23 Arknights: Endfield characters, covering World Exploration, Boss Conquest, and AIC (Factory) Management.
Operators are evaluated on Stagger Efficiency (Shield Breaking), Elemental Synergy, and Base Skills to determine their overall value in the Version 1.0 Launch Meta.
Tier | Striker | Guard | Caster | Vanguard | Support | Defender | |||||
T0 |
Laevatain |
Gilberta |
Ardelia | ||||||||
T1 |
Chen Qianyu |
Wulfgard |
Yvonne |
Pogranichnik |
Akekuri | ||||||
T2 |
Last Rite |
Endministrator |
Lifeng |
Antal |
Xaihi |
Ember | |||||
T3 |
Avywenna |
Da Pan |
Estella |
Perlica |
Alesh |
Arclight |
Snowshine | ||||
T4 |
Fluorite |
Catcher | |||||||||


This Arknights Endfield tier list helps you identify which Operators to prioritize. Tier 0 units like Laevatain are essential for clearing end game content efficiently, while lower tiers can still shine with the right team composition and investment.
We will update this ranking as new Operators are released and the meta shifts. Keep checking back to ensure your team remains competitive and you always know which characters are currently on top of the Endfield leaderboard.
Explore more character rankings in our Honkai: Star Rail Tier List, find top shooters in the NIKKE Tier List, or choose the strongest heroes for your next match with our Honor of Kings Tier List.
Arknights: Endfield Best Characters Analysis
Click any character or tier below to jump to the details.
All T0 Characters Analysis
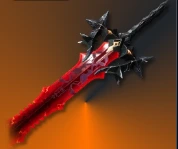
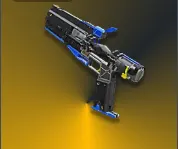
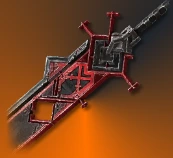
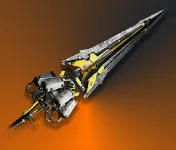
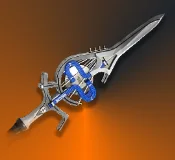
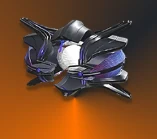
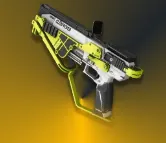
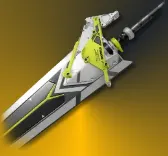
Laevatain
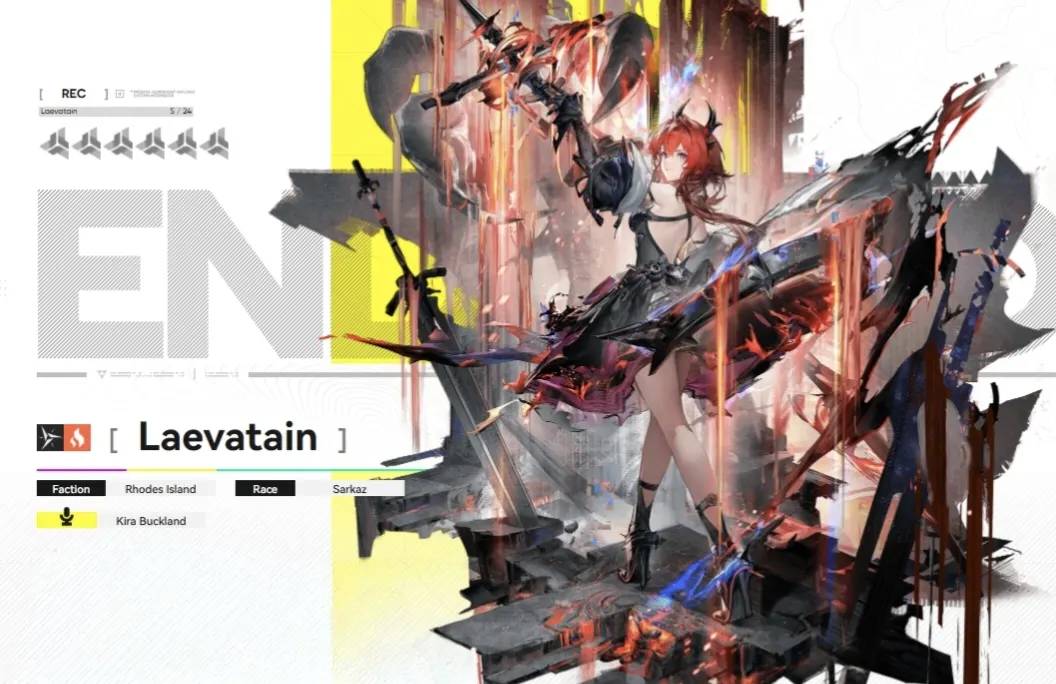
Laevatain is the undisputed queen of AoE damage in the launch meta. As a 6-star Heat Striker, she absorbs Heat Infliction to build Melting Flame stacks. This unique cycle allows her to ignore enemy resistance and unleash devastating area attacks that clear screens instantly.
Her power peaks when consuming stacks to trigger an empowered Battle Skill, applying Combustion. Though her Ultimate costs 300 energy, it transforms her into a burst monster. This insane scaling and shield-breaking potential make her an essential carry for all content.
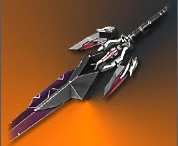
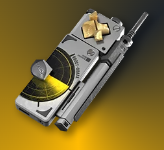
| Laevatain Best Weapons | |||
Forgeborn Scathe |
Umbral Torch |
White Night Nova | |
| Laevatain Best Gears | |||
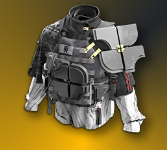
Tide Fall Light Armor |
Hot Work Pyrometer |
Hot Work Gauntlets | |
| Laevatain Best Team Comps | |||
Laevatain |
Akekuri |
Gilberta |
Wulfgard |
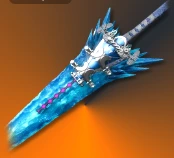
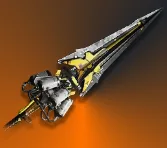
Gilberta

Gilberta secures her T0 spot by dominating battlefield control. Her Battle Skill acts as a vacuum, pulling scattered enemies into a single cluster for easy elimination. This unmatched grouping ability makes her invaluable for speeding up exploration and managing mob waves.
She shines brightest in Arts teams where her synergy is unmatched. Triggering an Arts Reaction activates her Combo Skill, which "Lifts" enemies and applies Vulnerability stacks. This hard crowd control stops incoming damage while priming targets for your team's burst window.
Beyond control, she is a potent damage multiplier. Her Ultimate creates a gravity field that drastically increases Arts damage taken by enemies. Coupled with passive healing when hitting groups, Gilberta compresses gathering, buffing, and sustaining into one essential slot.
| Gilberta Best Weapons | |||
Oblivion |
Delivery Guaranteed | ||
| Gilberta Best Gears | |||
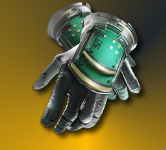
Tide Fall Light Armor |
Eternal Xiranite Auxiliary Arm |
Eternal Xiranite Gloves | |
| Gilberta Best Team Comps | |||
Avywenna |
Arclight |
Gilberta |
Perlica |

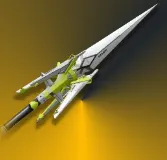
Ardelia
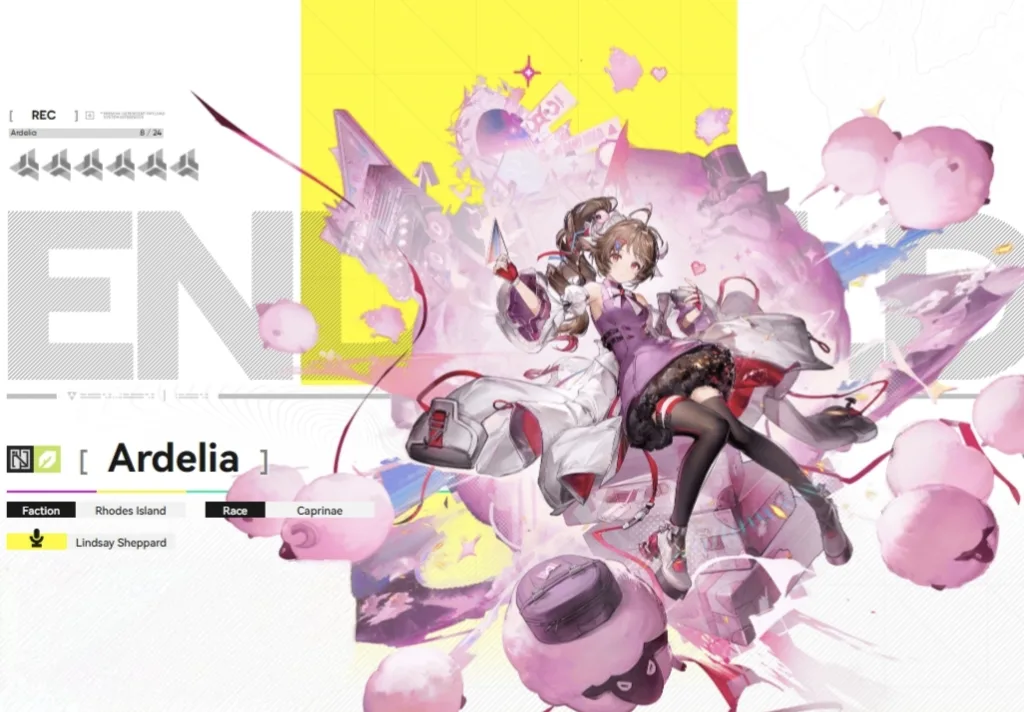
Ardelia stands as the definitive T0 Support, using Nature Arts to drastically amplify team output. Her core loop applies Corrosion via Final Strikes, which her Battle Skill then consumes to inflict a massive 30-second Arts and Physical Susceptibility debuff on targets.
She complements this offensive pressure with elite survivability. Her Ultimate summons "Mr. Dolly" shadows that heal low-health allies, making her a rare hybrid buffer-healer. This ability to shred enemy resistances while sustaining the team makes her mandatory for end-game content.
| Ardelia Best Weapons | |||
Stanza of Memorials |
Monaihe |
Dreams of the Starry Beach | |
| Ardelia Best Gears | |||
Tide Fall Light Armor |
Eternal Xiranite Gloves |
Eternal Xiranite Auxiliary Arm | |
| Ardelia Best Team Comps | |||
Laevatain |
Wulfgard |
Akekuri |
Ardelia |


All T1 Characters
Chen Qianyu
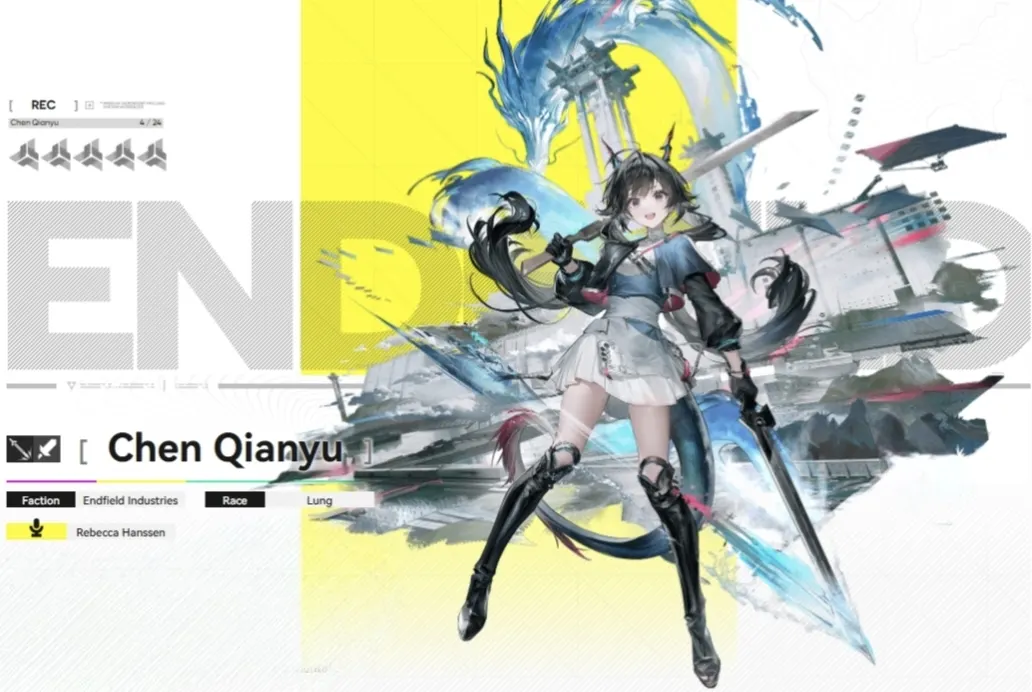
Chen Qianyu secures her T1 spot as an essential enabler for Physical teams. Her kit is dedicated to rapidly stacking "Vulnerable" effects on enemies through her Battle Skill and Lifting Combo, setting the stage for your squad to inflict massive damage via Crush or Breach.
Her utility comes at a bargain. As a character who functions perfectly with minimal SP investment, she lets your main carries dominate resource usage. Combined with a Talent that accelerates Stagger damage against charging enemies, she is a highly efficient, low-cost shield breaker.
| Chen Qianyu Best Weapons | |||
Sundering Steel |
Rapid Ascent |
Aspirant | |
| Chen Qianyu Best Gears | |||
Swordmancer Heavy Armor |
Swordmancer Flint |
Swordmancer TAC Fists | |
| Chen Qianyu Best Team Comps | |||
Endministrator |
Chen Qianyu |
Alesh |
Estella |
Wulfgard
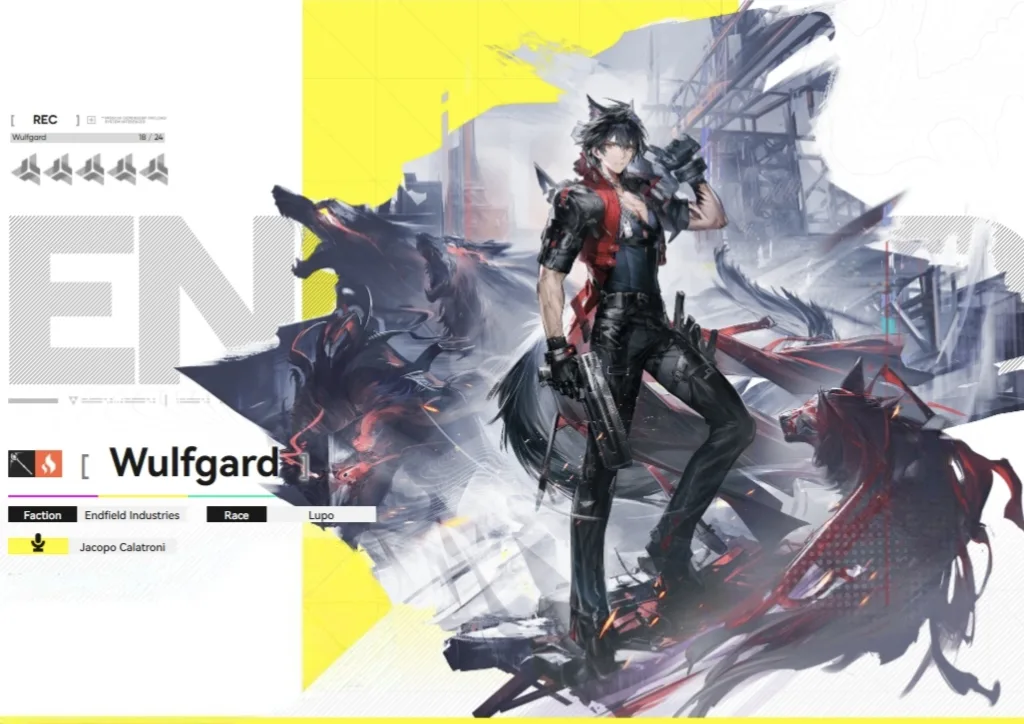
Wulfgard earns his T1 rank through versatility, functioning as either a Heat enabler or a burst dealer. His kit revolves around applying Heat Infliction and triggering Combustion, making him a flexible core for any Heat-based elemental team.
As a Sub-DPS, he excels at constant Heat application. His Combo Skill triggers off any Arts Infliction to deal AoE Heat damage, while his Ultimate forces Combustion. This consistent output sets up reactions perfectly for your primary Striker to exploit.
Alternatively, Wulfgard can take the lead as a Main DPS. By consuming Combustion or Electrification states on enemies, he unlocks an Enhanced Battle Skill that deals massive burst damage. This playstyle rewards aggressive rotation and precise elemental timing.
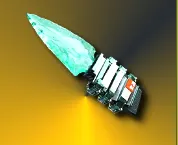
| Wulfgard Best Weapons | |||
Long Road |
Rational Farewell |
Clannibal | |
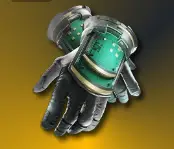
| Wulfgard Best Gears | |||
Hot Work Exoskeleton |
Hot Work Pyrometer |
Hot Work Gauntlets | |
| Wulfgard Best Team Comps | |||
Laevatain |
Wulfgard |
Akekuri |
Antal |
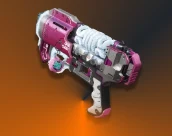
Yvonne
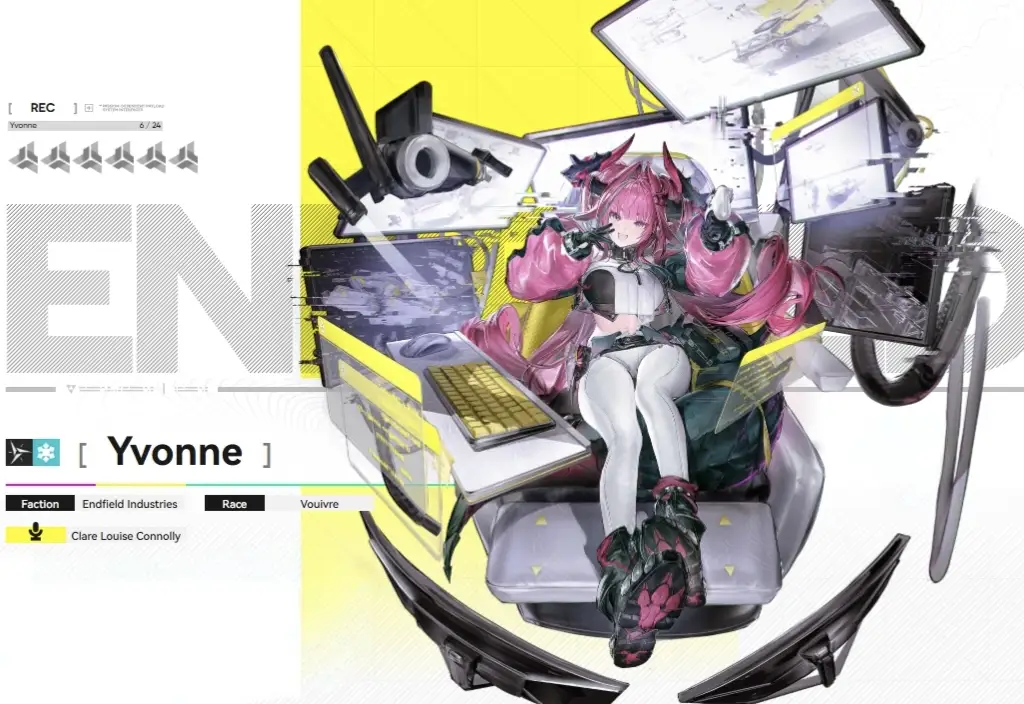
Yvonne takes the T1 spot as a premier single-target Caster specialized in "Solidification." By converting Cryo or Nature stacks into Solidification with her Battle Skill, she controls the battlefield while generating massive Ultimate energy through frequent critical hits.
Her power spikes during her Ultimate, which enhances her basic attacks for multi-hit punishment. This culminates in an Enhanced Final Strike that consumes the Solidification status, allowing her to delete high-health targets instantly once the reaction setup is complete.
However, she is strictly team-dependent. Unable to apply initial Cryo or Nature stacks herself, she demands a dedicated partner like Xaihi to enable her loops. This reliance on specific supports keeps her just shy of T0, though her damage ceiling is undeniably high.
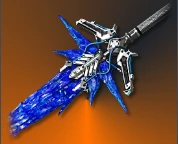
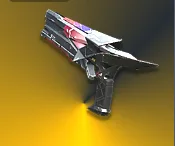
| Yvonne Best Weapons | |||
Opus: The Living |
Wedge |
Artzy Tyrannical | |
| Yvonne Best Gears | |||
Ml Security Overalls |
Ml Security Toolkit |
Ml Security Hands PPE | |
| Yvonne Best Team Comps | |||
Yvonne |
Gilberta |
Snowshine |
Xaihi |
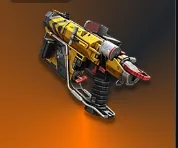

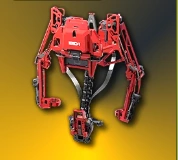
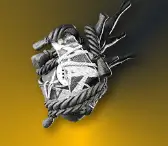
Pogranichnik
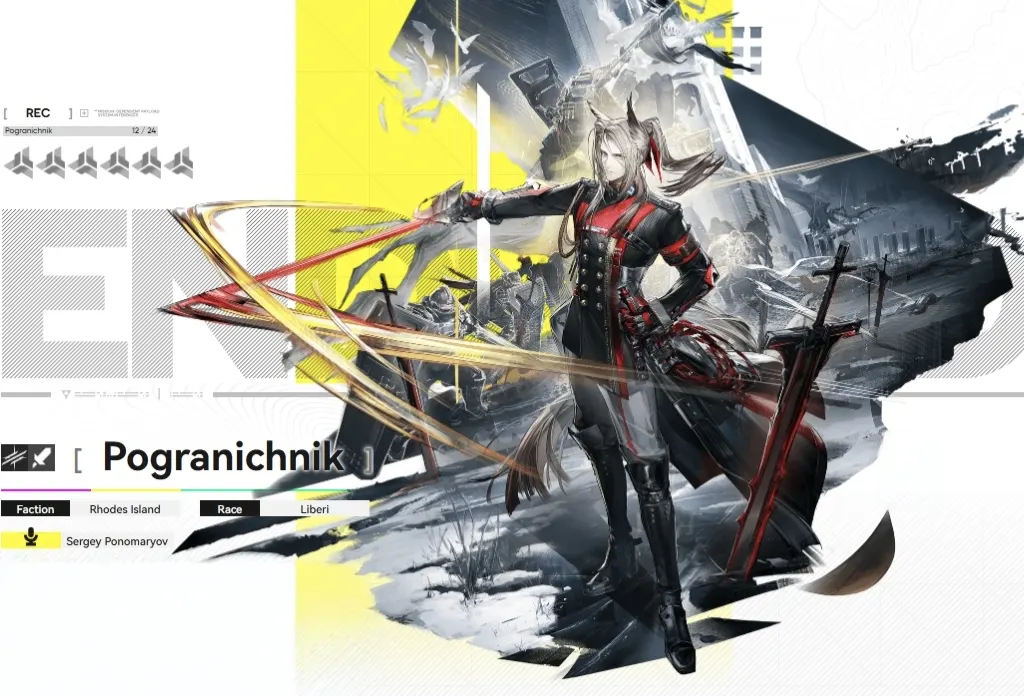
Pogranichnik secures T1 as the undisputed engine for Physical teams. His kit revolves around consuming "Vulnerable" stacks to trigger "Breach" and his Combo Skill. The more stacks consumed, the more slashes he performs, generating massive SP to keep team skills flowing.
His value spikes with his Ultimate, which gathers enemies and grants "Steel Oath" stacks. Every Physical status effect triggers his Shieldguards to attack, dealing Stagger and recovering SP. Burning these stacks quickly unleashes a massive AoE slam finisher.
He forces a strategic choice between "Breach" and "Crush." While using stacks for Breach prevents a Crush burst, the resulting Physical damage taken debuff amplifies the whole team's output. This sustained damage boost makes him a staple for long boss fights.
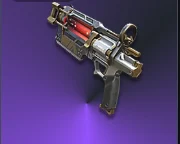
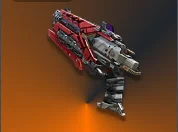
| Pogranichnik Best Weapons | |||
Thermite Cutter |
Eminent Repute |
Never Rest | |
| Pogranichnik Best Gears | |||
Swordmancer Heavy Armor |
Swordmancer Flint |
Swordmancer TAC Fists | |
| Pogranichnik Best Team Comps | |||
Pogranichnik |
Lifeng |
Alesh |
Estella |
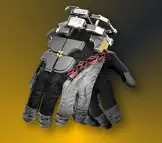
Akekuri
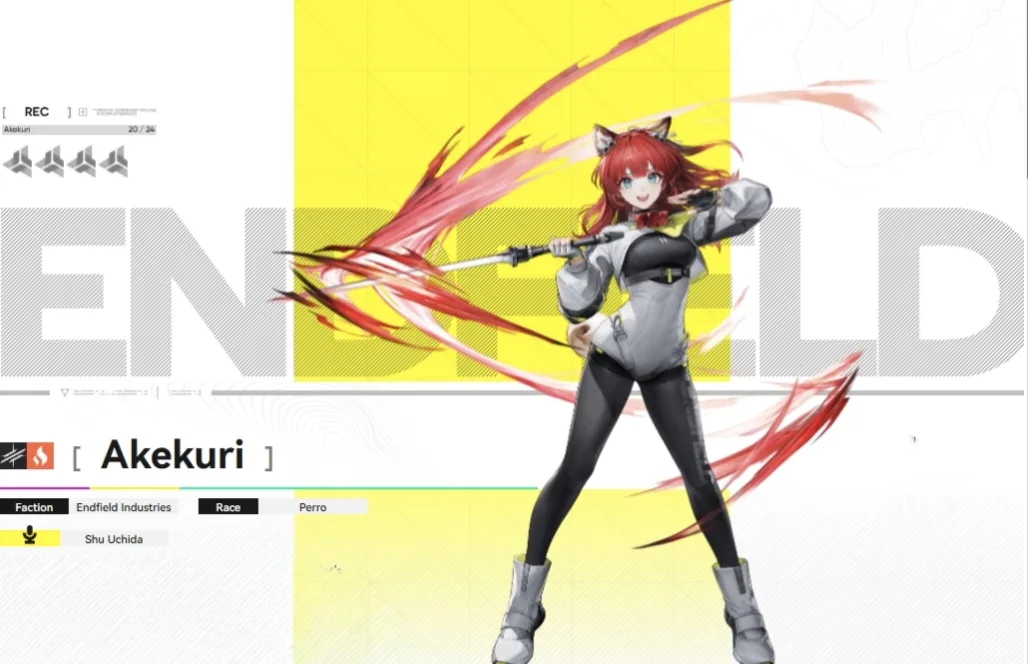
Akekuri defies her 4-star rarity to secure T1 status as the game's most flexible SP battery. Her value lies in consistent burst SP generation, ensuring your team's rotations never stall. Her Combo Skill triggers easily on Staggered enemies, keeping energy flowing effortlessly.
Her specific strength involves the "Link" mechanic attached to her Ultimate. Although costing 120 energy, casting it before your Striker's burst provides a massive damage multiplier. This turns her from a simple battery into a potent offensive buffer during crucial windows.
To optimize her kit, timing is everything. You must align her Ultimate with your team's highest damage skills while ensuring their SP isn't already full. Master this coordination, and Akekuri becomes an engine that rivals 6-star supports in utility.
| Akekuri Best Weapons | |||
Contingent Measure |
Thermite Cutter |
OBJ Edge of Lightness | |
| Akekuri Best Gears | |||
Frontiers Extra O2 Tube |
Type 50 Yinglung Gloves |
Frontiers Armor | |
| Akekuri Best Team Comps | |||
Endministrator |
Chen Qianyu |
Akekuri |
Catcher |
All T2 Characters
Last Rite
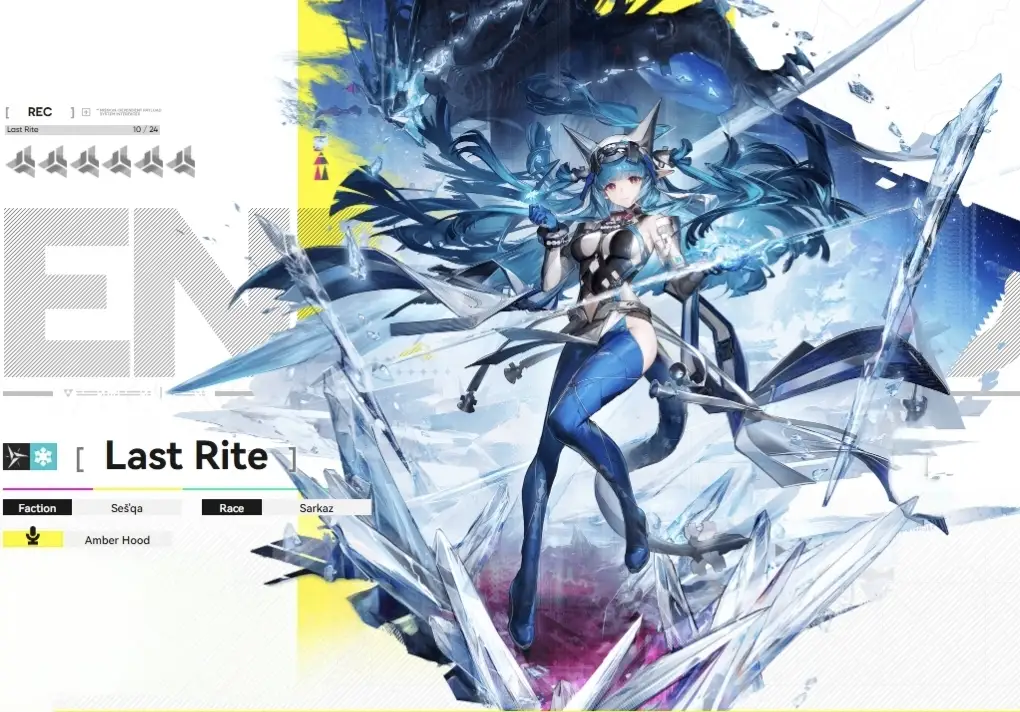
Last Rite lands in T2 due to immense power locked behind rigid conditions. As a "selfish" Cryo Striker, she generates energy solely through her own actions, not teammates. Her loop requires stacking Cryo Infliction, then consuming it via Combo Skills to fuel her expensive 240-energy Ultimate.
This energy hunger restricts flexibility, demanding teammates who rapidly apply Cryo stacks. You must pre-cast her Battle Skill to summon mirages and enable Combo triggers. Without a dedicated Cryo setup, her rotation stalls, making her far less efficient than versatile T0 Strikers.
| Last Rite Best Weapons | |||
Sundered Prince |
Seeker of Dark Lung |
Khravengger | |
| Last Rite Best Gears | |||
Tide Fall Light Armor |
Hanging River O2 Tube |
Tide Surge Gauntlets | |
| Last Rite Best Team Comps | |||
Last Rite |
Perlica |
Snowshine |
Xaihi |

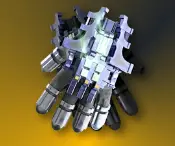
Endministrator
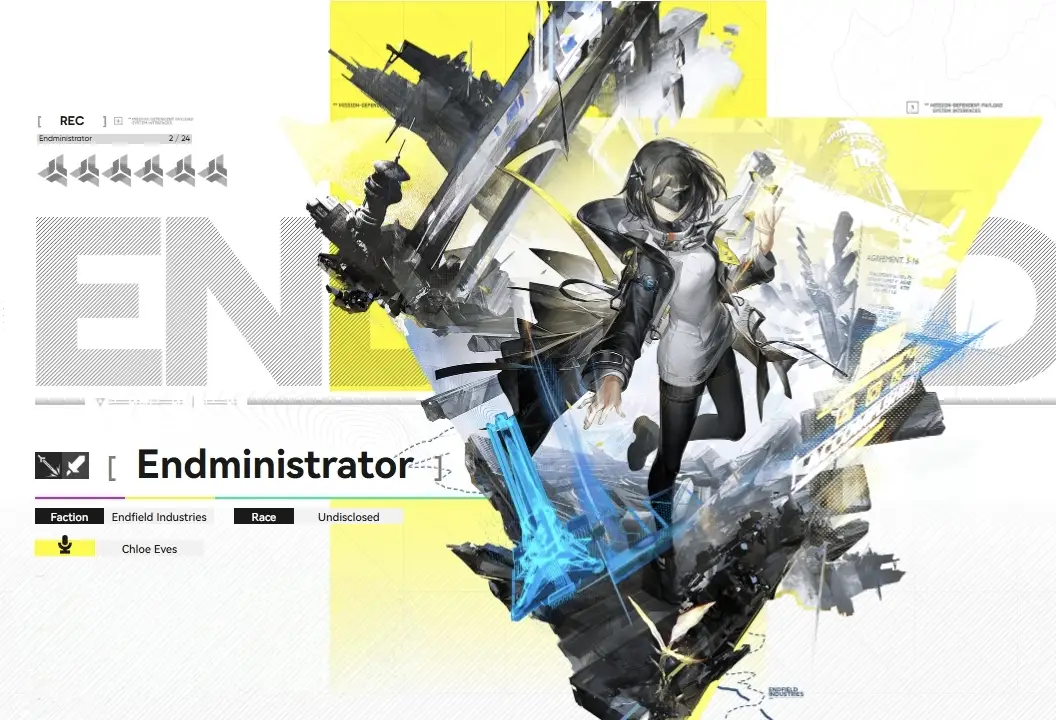
The Endministrator is a versatile T2 staple. Their Combo Skill triggers automatically off any ally, trapping enemies in "Originium Crystals." This freezes mobs and applies a rare 30% Physical damage taken debuff, serving as both hard crowd control and a potent damage amplifier.
Their Battle Skill triggers "Crush," consuming "Vulnerable" stacks for heavy burst. With free Potentials granting team-wide ATK buffs and SP refunds, they are an efficient engine for Physical squads, offering reliable value before specialized carries take over.
| Endministrator Best Weapons | |||
Sundering Steel |
Eminent Repute |
Grand Vision | |
| Endministrator Best Gears | |||
Bonekrusha Heavy Armor T1 |
Bonekrusha Mask |
Swordmancer TAC Gauntlets | |
| Endministrator Best Team Comps | |||
Endministrator |
Chen Qianyu |
Pogranichnik |
Catcher |

Lifeng
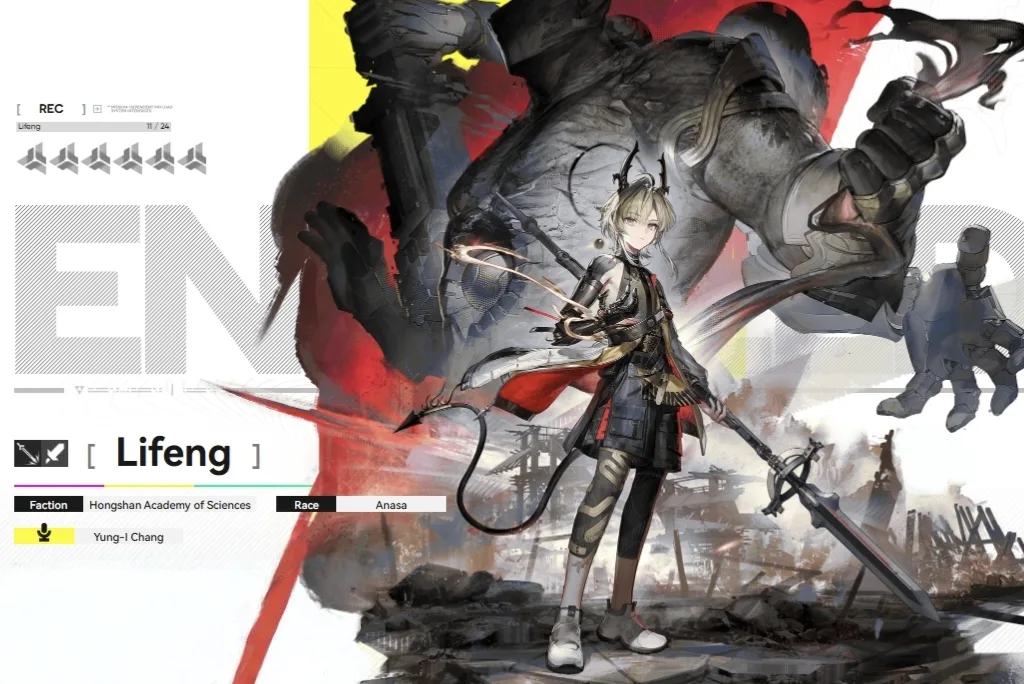
Lifeng lands in T2 as a dedicated setup engine for Physical teams. Specializing in "Knock Down," his Battle Skill applies crucial Physical Susceptibility and Vulnerable stacks simultaneously. This dual debuffing ability makes him an excellent opener to amplify team damage.
However, he cannot consume Vulnerable stacks himself, relying on teammates with "Crush" or "Breach" to finish the job. While his Ultimate offers crowd control and his Combo grants a powerful "Link" damage buff, this dependency keeps him from rising above T2 status.
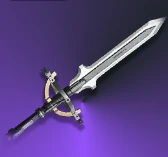
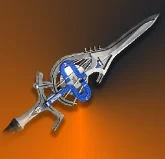
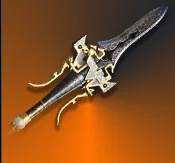
| Lifeng Best Weapons | |||
Pathfinder's Beacon |
Valiant |
Mountain Bearer | |
| Lifeng Best Gears | |||
Æthertech Plating |
Æthertech Analysis Band | ||
| Lifeng Best Team Comps | |||
Lifeng |
Chen Qianyu |
Alesh |
Estella |
Antal
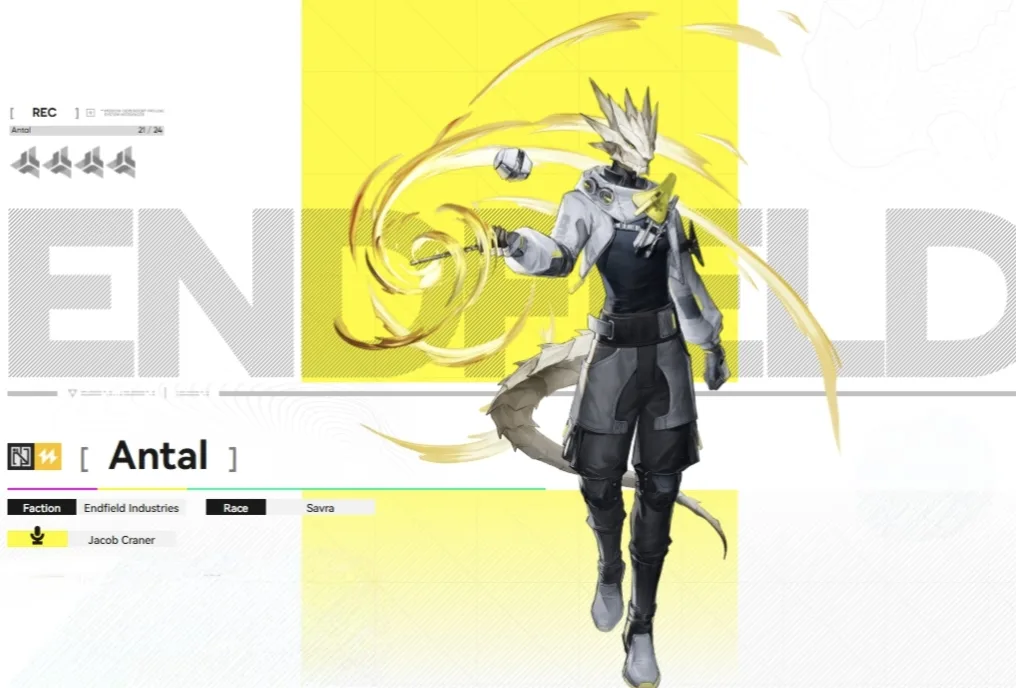
Antal secures his T2 spot as a highly efficient support for Electric and Heat teams. He applies Susceptibility and Amp to enemies, significantly boosting team damage. His low SP cost is a major asset, allowing your main damage dealers to consume resources freely without competition.
His gameplay focuses on maintaining Focus on high-priority targets via his Battle Skill. His Combo Skill adapts by copying the last applied debuff, while his Ultimate grants Amp and triggers healing when allies use skills. This mix of offensive buffing and passive sustain makes him reliable.
| Antal Best Weapons | |||
Stanza of Memorials |
Detonation Unit |
OBJ Arts Identifier | |
| Antal Best Gears | |||
Tide Fall Light Armor |
Eternal Xiranite Power Core |
Eternal Xiranite Gloves | |
| Antal Best Team Comps | |||
Laevatain |
Wulfgard |
Akekuri |
Antal |
Xaihi
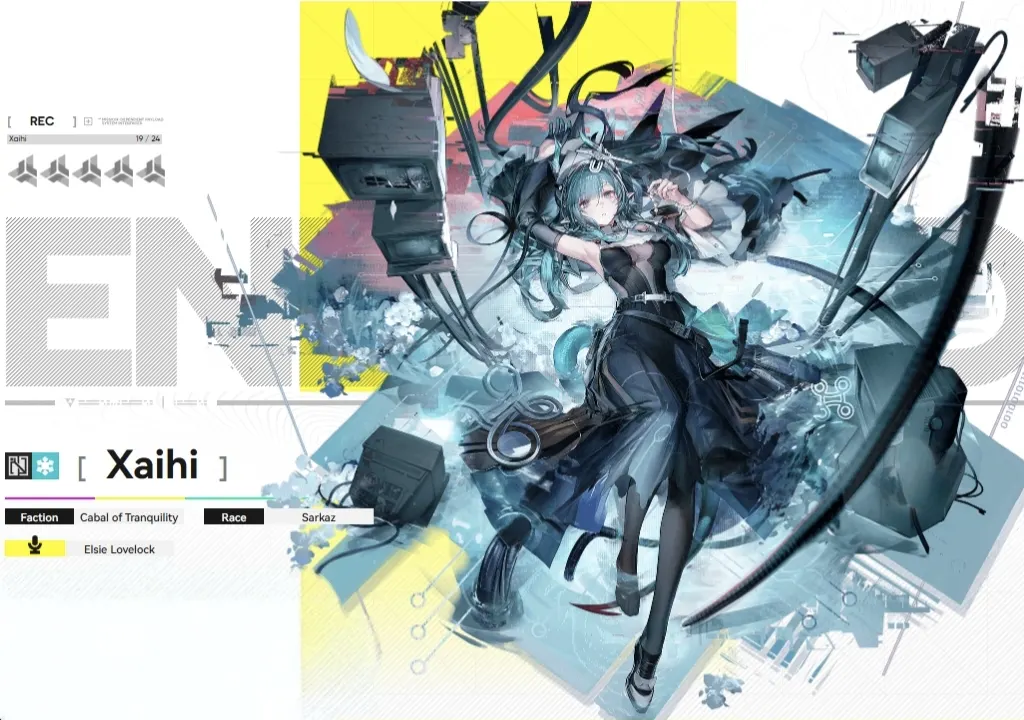
Xaihi earns her T2 rank as the premier defensive anchor for Cryo teams. She compresses roles by providing essential healing while consistently applying Cryo Infliction. This dual utility makes her the perfect partner for selfish carries who rely on external element application.
Her playstyle focuses on managing her Auxiliary Crystal. Summon it with her Battle Skill, then land Final Strikes to either heal the active operator or boost their Arts damage. Once charges are spent, launch the crystal via Combo Skill to freeze enemies and reset the loop.
| Xaihi Best Weapons | |||
Chivalric Virtues |
Detonation Unit |
Monaihe | |
| Xaihi Best Gears | |||
Tide Fall Light Armor |
Eternal Xiranite Gloves |
Eternal Xiranite Auxiliary Arm | |
| Xaihi Best Team Comps | |||
Last Rite |
Perlica |
Snowshine |
Xaihi |
Ember
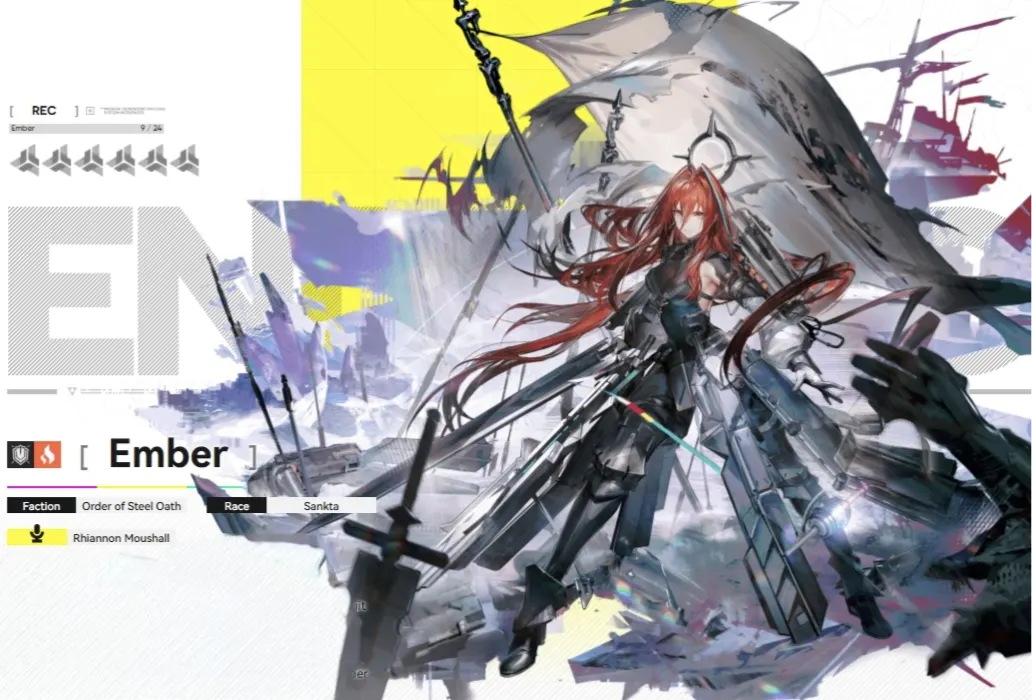
Ember serves as a versatile T2 Defender who fits into any composition needing survival. She functions as a reactive support, automatically leaping in to heal allies and Knock Down enemies whenever they take damage. This constant application of Vulnerable stacks makes her a valuable asset for Physical teams.
Her kit is designed for off-field utility due to her slow attack animations. You should rarely control her directly; instead, let her Combo trigger passively to sustain your active operator. Her low-cost Ultimate provides frequent team-wide shields, ensuring your squad remains healthy during long attrition battles.
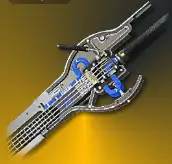
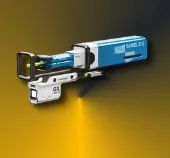
| Ember Best Weapons | |||
Sundered Prince |
Thunderberge |
Finishing Call | |
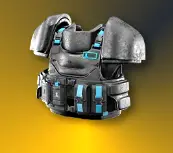
| Ember Best Gears | |||
LYNX Heavy Armor |
LYNX Aegis Injector |
LYNX Gloves | |
| Ember Best Team Comps | |||
Endministrator |
Chen Qianyu |
Akekuri |
Ember |

All T3 Characters
Avywenna
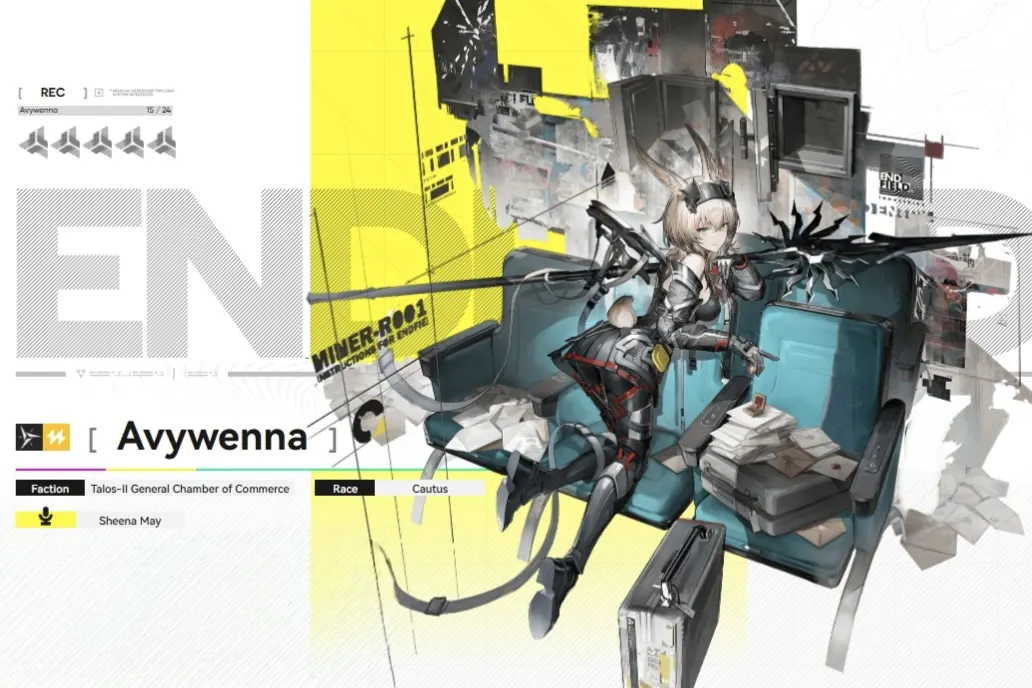
Avywenna sits in T3 due to a cumbersome setup. She plants Thunderlances via Combo Skills, then recalls them through enemies for burst hits. This requires perfect positioning and time to execute, yielding a payoff that lags behind the speed and efficiency of meta Strikers.
| Avywenna Best Weapons | |||
Cohesive Traction |
Aggeloslayer |
JET | |
| Avywenna Best Gears | |||
Type 50 Yinglung Gloves T1 |
Bonekrusha Poncho T1 |
Bonekrusha Figurine | |
| Avywenna Best Team Comps | |||
Avywenna |
Perlica |
Arclight |
Antal |
Da Pan
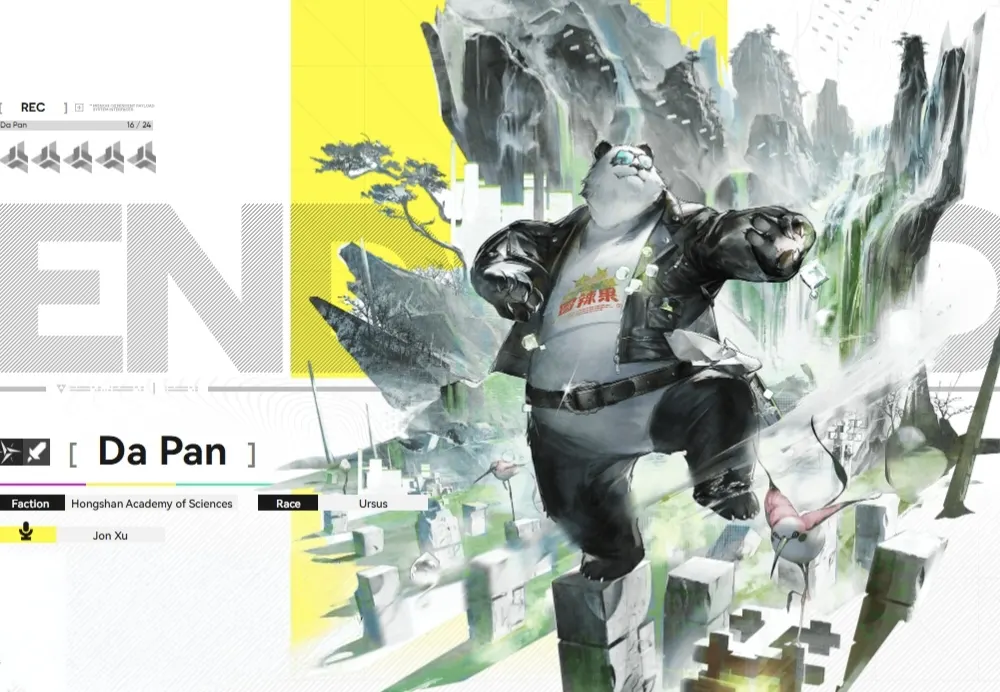
Da Pan falls to T3 due to his restrictive setup needs. He demands a team dedicated to maintaining four Vulnerable stacks before his damage comes online. This strict reliance on perfect timing makes him clunky compared to smoother, self-sufficient Strikers in the current meta.
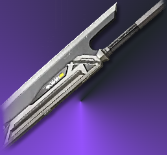
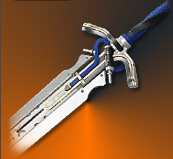
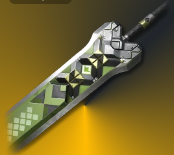
| Da Pan Best Weapons | |||
Industry 0.1 |
Exemplar |
Ancient Canal | |
| Da Pan Best Gears | |||
Type 50 Yinglung Heavy Armor |
Type 50 Yinglung Radar |
Swordmancer TAC Fists | |
| Da Pan Best Team Comps | |||
Da Pan |
Chen Qianyu |
Akekuri |
Catcher |
Estella
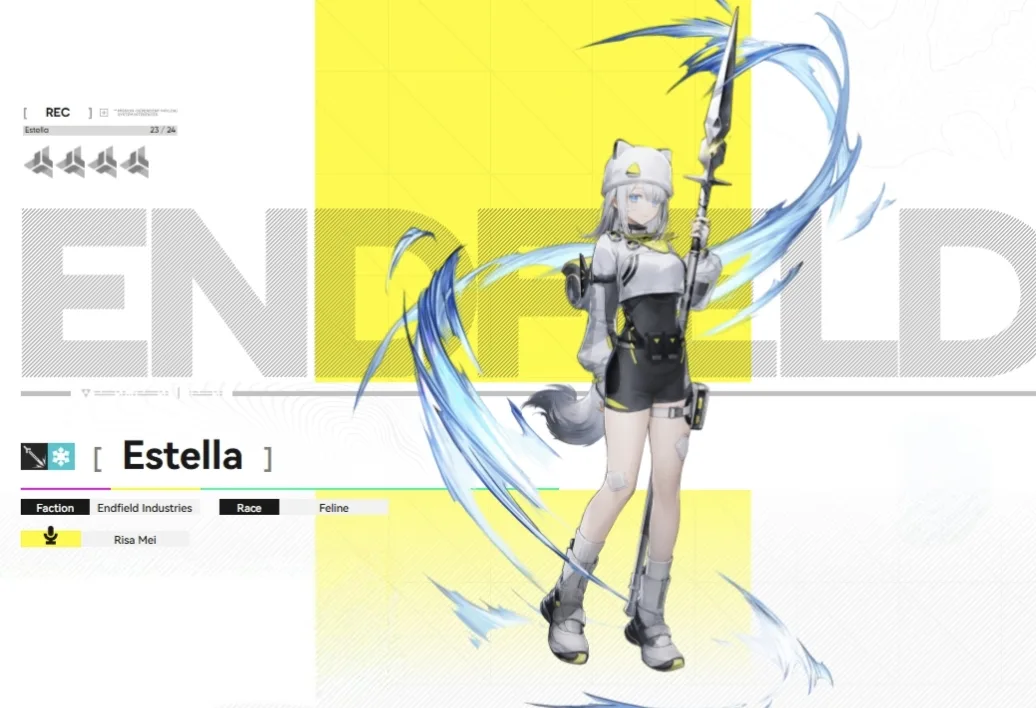
Estella sits in T3 due to a confused hybrid identity. She is a Cryo character designed to support Physical teams, requiring Solidification setup to apply essential Susceptibility and Vulnerable stacks. This awkward prerequisite limits her to niche Shatter compositions.
| Estella Best Weapons | |||
Valiant |
JET |
BJ Razorhorn | |
| Estella Best Gears | |||
Type 50 Yinglung Light Armor |
Type 50 Yinglung Radar |
Swordmancer TAC Gauntlets | |
| Estella Best Team Comps | |||
Yvonne |
Estella |
Alesh |
Snowshine |
Perlica
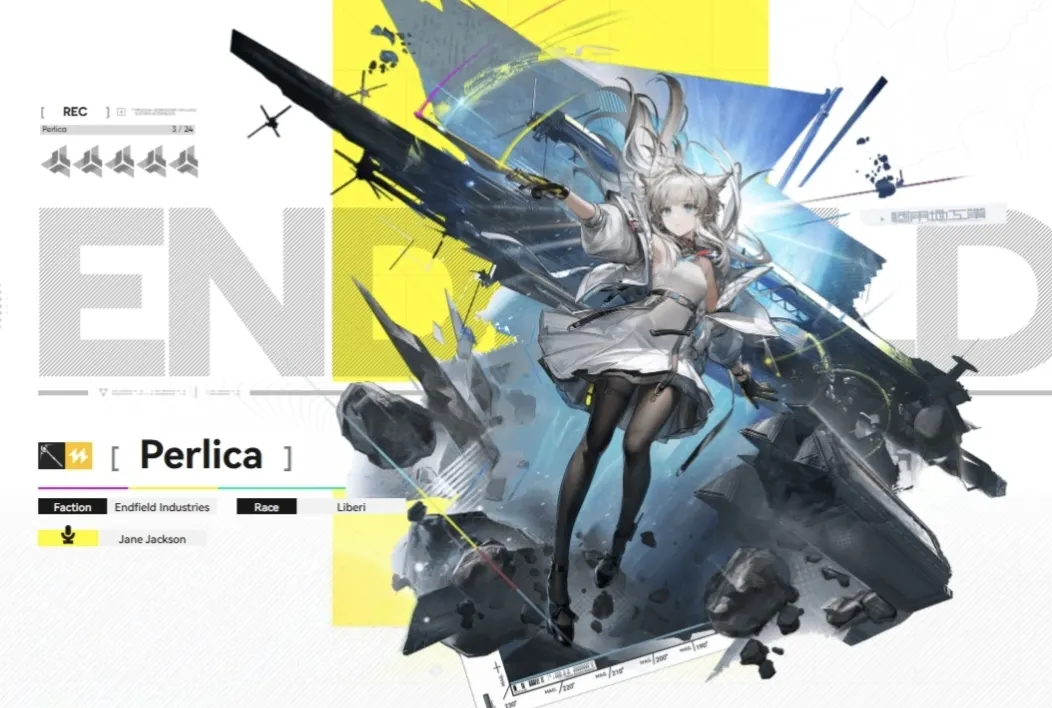
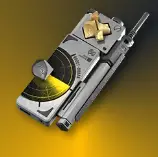
Perlica lands in T3 as a user-friendly but limited starter Caster. Her auto-trigger Combo Skill applies Electrification on Final Strikes, offering easy Arts amplification. However, the restrictive 5-second duration limits her potential in complex end-game rotations.
| Perlica Best Weapons | |||
Hypernova Auto |
Oblivion |
Detonation Unit | |
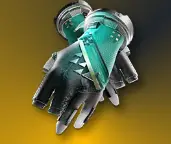
| Perlica Best Gears | |||
Pulser Labs Disruptor Suit |
Pulser Labs Calibrator |
Pulser Labs Gloves | |
| Perlica Best Team Comps | |||
Avywenna |
Perlica |
Arclight |
Antal |

Alesh
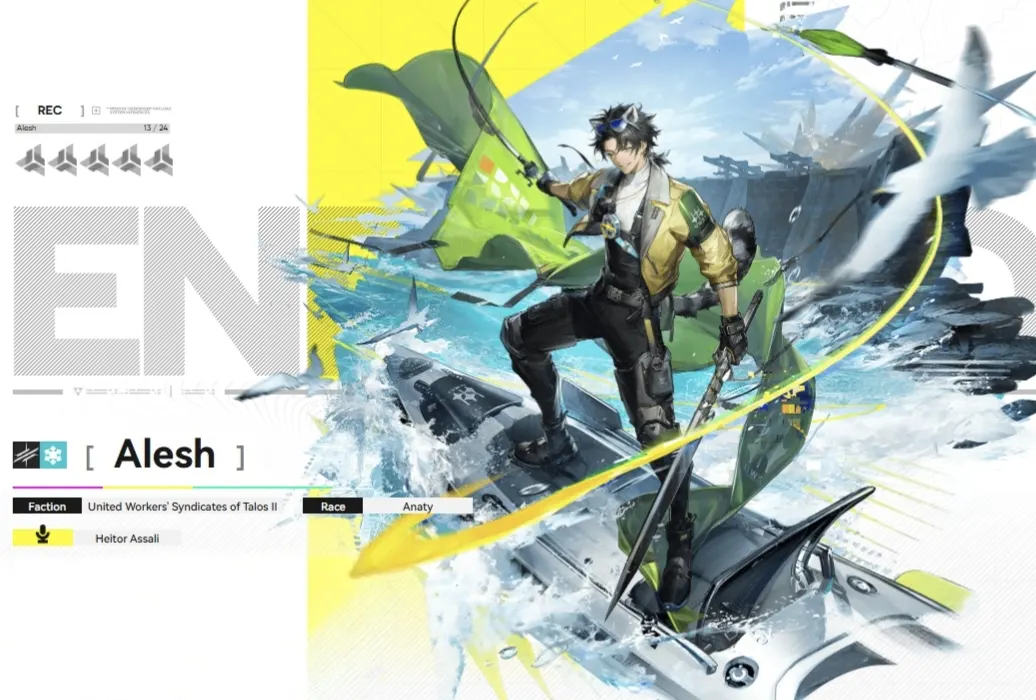
Alesh lands in T3 as a niche SP battery. His fishing ability generates SP upon consuming Arts Reactions, yet relies on RNG for maximum returns. While useful for forcing Solidification in Cryo setups, his inconsistency makes him less reliable than universal generators.
| Alesh Best Weapons | |||
Fortmaker |
Thermite Cutter |
Finchaser 3.0 | |
| Alesh Best Gears | |||
Frontiers Extra O2 Tube |
Eternal Xiranite Gloves |
Frontiers Armor | |
| Alesh Best Team Comps | |||
Yvonne |
Lifeng |
Alesh |
Snowshine |

Arclight
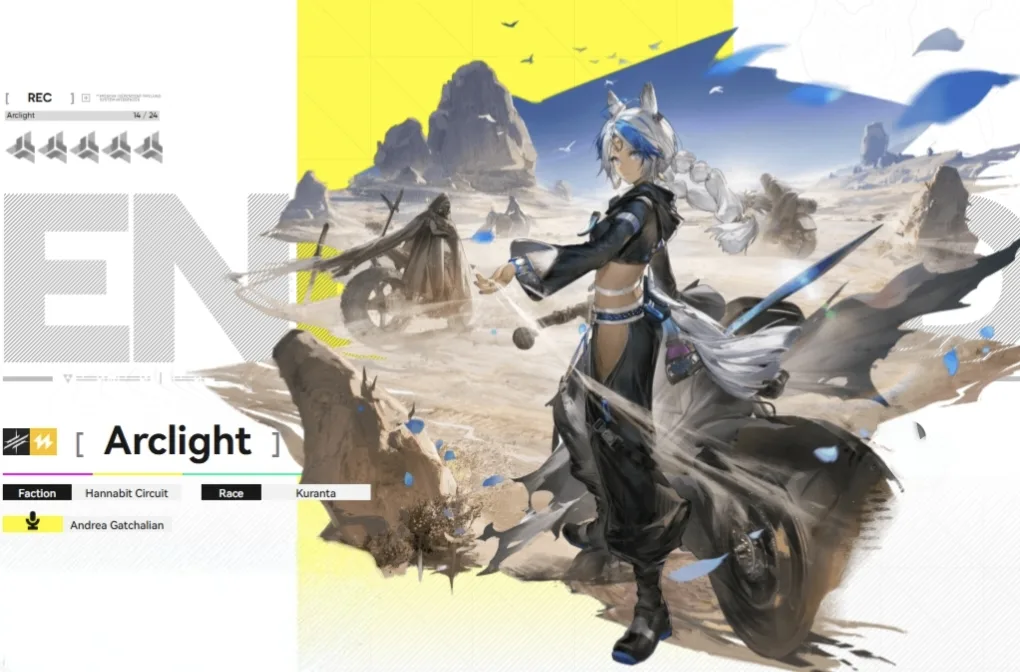
Arclight sits in T3 as a niche battery for Electric teams. Her value comes from consuming Electrification to generate SP, but she cannot reliably set this up herself. This reliance on partners like Perlica makes her less flexible than Vanguards who generate resources unconditionally.
| Arclight Best Weapons | |||
Twelve Questions |
Finchaser 3.0 |
White Night Nova | |
| Arclight Best Gears | |||
Frontiers Armor |
Frontiers Extra O2 Tube |
Frontiers Blight RES Gloves | |
| Arclight Best Team Comps | |||
Avywenna |
Perlica |
Arclight |
Gilberta |
Snowshine
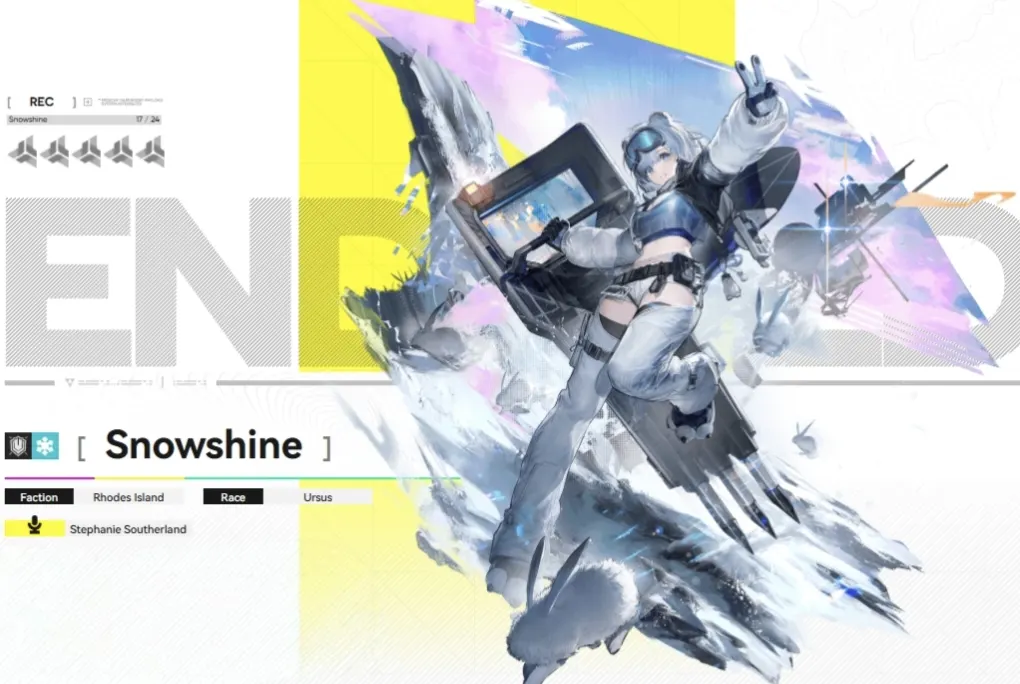
Snowshine sits in T3 as a reactive safety net rather than a proactive playmaker. Her value lies in emergency healing, automatically triggering her Combo Skill when allies drop below 60% HP. However, her reliance on enemy attacks to apply Cryo makes her inconsistent compared to Defenders who offer active control.
| Snowshine Best Weapons | |||
Thunderberge |
Finishing Call |
Former Finery | |
| Snowshine Best Gears | |||
LYNX Heavy Armor |
LYNX Gloves |
LYNX Connector | |
| Snowshine Best Team Comps | |||
Laevatain |
Akekuri |
Gilberta |
Wulfgard |


All T4 Characters
Fluorite
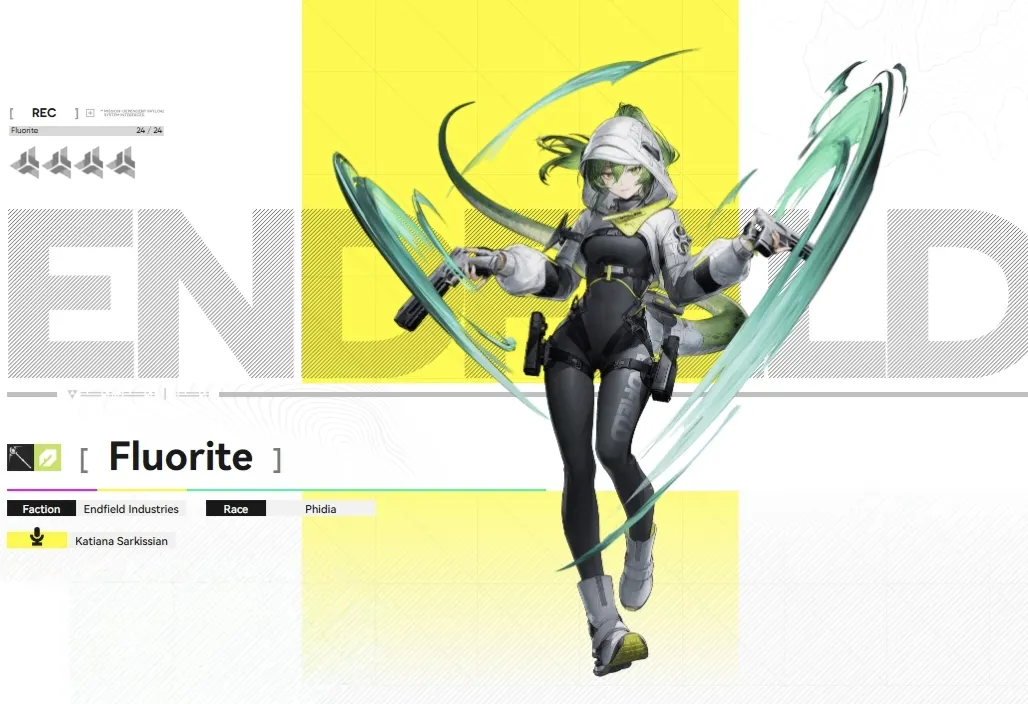
Fluorite falls into T4 due to crippling cooldowns that hamper her utility. While she supports Nature and Cryo teams by stacking Infliction, her Combo Skill suffers from an agonizing 40-second recharge. This slowness, combined with clunky delayed application, leaves her far outpaced by faster, more efficient enablers.
| Fluorite Best Weapons | |||
Howling Guard |
Wedge |
OBJ Velocitous | |
| Fluorite Best Gears | |||
Redeemer Seal |
Frontiers Extra O2 Tube |
Frontiers Armor |
Frontiers Blight RES Gloves |
| Fluorite Best Team Comps | |||
Yvonne |
Gilberta |
Fluorite |
Xaihi |

Catcher

Catcher lands in T4 due to a restrictive kit offering average returns. His parry mechanic demands precise timing, while his defensive Combo only triggers under dire health conditions. This inconsistency makes him far less reliable than proactive Defenders like Ember.
| Catcher Best Weapons | |||
Thunderberge |
OBJ Heavy Burden |
Former Finery | |
| Catcher Best Gears | |||
Tide Fall Light Armor |
Eternal Xiranite Power Core |
Eternal Xiranite Gloves | |
| Catcher Best Team Comps | |||
Endministrator |
Chen Qianyu |
Akekuri |
Catcher |
Arknights: Endfield 2026 Tier List Summary
With the dominance of Laevatain and Gilberta firmly established, the 2026 meta in Arknights: Endfield has shifted from raw damage output to mastering complex elemental reactions. Success on Talos-II now relies on the perfect execution of Combustion and Solidification combos rather than simple brute force.
For Endministrators aiming for maximum efficiency, the most effective strategy to handle high-difficulty zones is to funnel scarce resources into your T0 core units. While we always respect playing with your favorites, we highly recommend finalizing one versatile elemental team first to ensure you can clear combat content and defend your AIC Factory effectively.
Finally, smart budget planning is essential for any veteran Endministrator. If you are looking to top up, consider checking out GamsGo. They provide arknights endfield cheap top up services, helping you get more Originium for your money so you can save up for those essential 6-star Operators.
Bring home your dream characters and conquer the frontier of Talos-II today!🎉
FAQ
Who is the Best Character to Reroll for in Arknights: Endfield?
Laevatain and Gilberta are the top priorities. Laevatain offers unmatched AoE damage for fast clears, while Gilberta provides essential crowd control and Arts support. Securing either of these 6-star Operators gives you a significant head start in the early game.
Can I Clear the Game Using Only Low-Tier Characters?
Yes. Endfield prioritizes synergy over rarity. Many lower-tier characters are perfectly viable when placed in the right composition to trigger elemental reactions. Even T4 units can be valuable for managing your AIC Factory production lines if not used in combat.
How Important Are Elemental Reactions in Combat?
They are crucial. Basic attacks fail in high-difficulty zones. You must master reactions like Combustion and Solidification to break enemy shields (Stagger) and deal max damage. Understanding these interactions is often more important than owning high-level characters.
Related Articles: