🩸 Want to lock in the strongest Killers in Dead by Daylight's current patch? You're in the right place.
This DBD Killer Tier List is built on the latest BHVR patch notes, high-MMR performance data, tournament trends, and community analytics. We break down all Killers across five archetypes — Anti-Loop, Stealth, Ranged, Map Pressure, and Snowball — with clear S–D tier rankings, helping you instantly identify the strongest picks to dominate your lobbies.
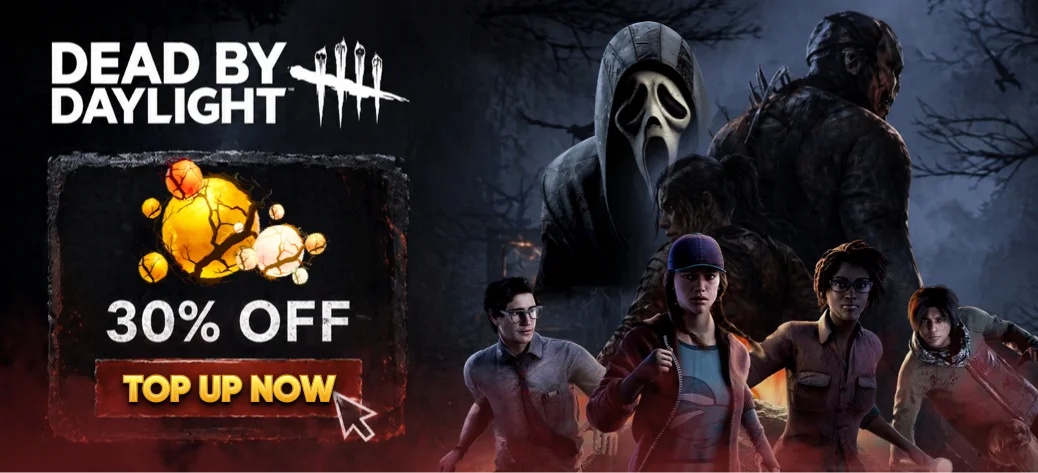
If you're short on Auric Cells when unlocking these Killers, head to GamsGo to top up Dead by Daylight with 30% off.
The current meta favors fast-pressure and gen-regression tools following the 9.6 Monstrous Shrine rework. Picking the right Killer is your first step toward consistent 4Ks at high MMR.
Now, let's jump straight into the most complete DBD Killer tier list across all five archetypes. 👇
DBD Anti-Loop Killer Tier List
Anti-Loop Killers negate the survivor's primary advantage: safe tile usage. These Killers pressure, break, or bypass loops entirely — forcing survivors off strong tiles and converting chases into hooks before generators are completed. Strong picks need a power that either ignores map geometry, punishes looping directly, or dramatically shortens time-to-down.
| Tier | DBD Anti-Loop Killers | ||||
| S |  The Nurse Spencer's Last Breath |  The Spirit Yamaoka's Haunting |  The Artist Birds of Torment | ||
| A |  The Nemesis T-Virus |  The Dark Lord Vampiric Power |  The Mastermind Virulent Bound |  The Good Guy Hidey-Ho Mode | |
| B | 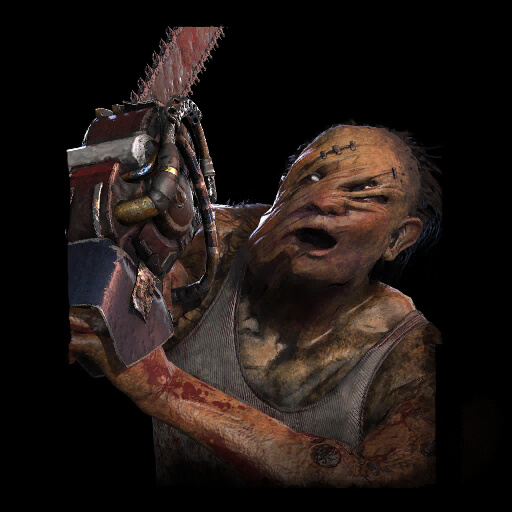 The Hillbilly Chainsaw | ||||
| C |  The Executioner Rites of Judgment | ||||
DBD Stealth Killer Tier List
Stealth Killers eliminate or manipulate their terror radius to land first hits before survivors can react. Excellent for disrupting gen-rush tempo and punishing solo-queue survivors who rely on heartbeat audio to detect danger. Strong picks need reliable approach mechanics and good early-game pressure to compensate for their naturally lower chase power.
| Tier | DBD Stealth Killers | ||||
| S |  The Ghost Face Night Shroud |  The Shape Evil Within | |||
| A |  The Wraith Wailing Bell | 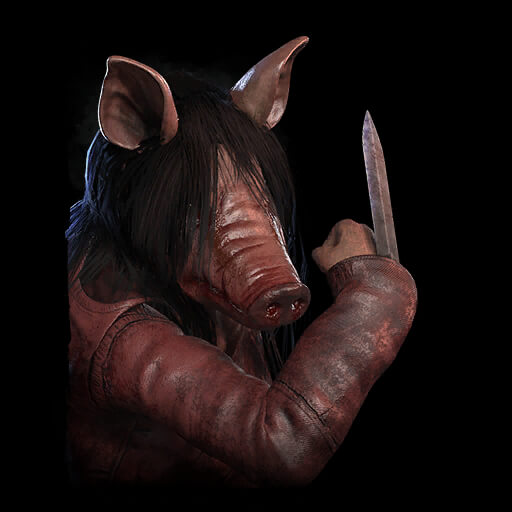 The Pig Jigsaw's Baptism | 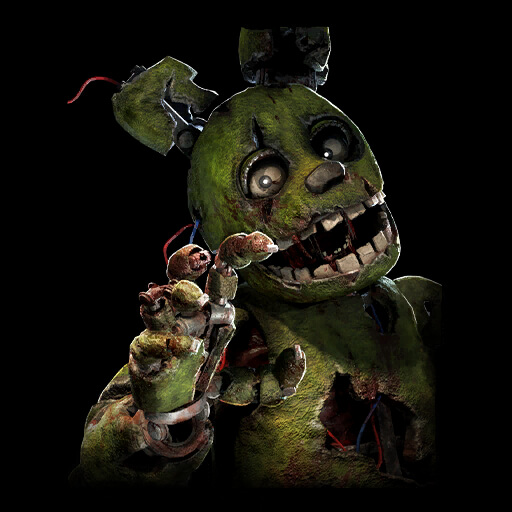 The Animatronic Fazbear's Fright | ||
| B | 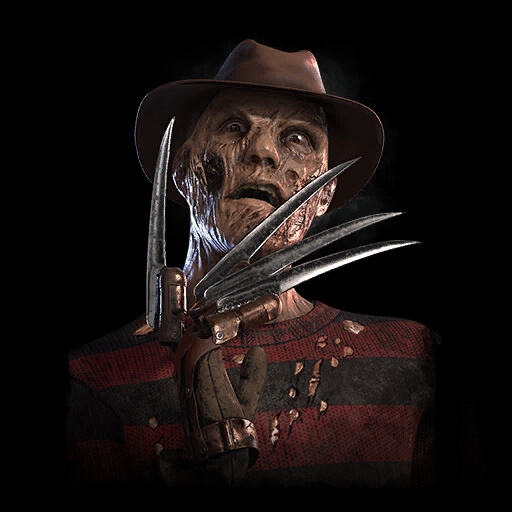 The Nightmare Dream Demon |  The Krasue Cursed Flight | |||
DBD Ranged Killer Tier List
Ranged Killers extend their threat beyond arm's reach — hitting across loops, through windows, or over obstacles. Excellent for pressuring survivors behind pallets and walls without committing to a full melee chase, saving valuable match time. Strong picks need projectiles with reliable hitboxes and high enough base damage to make every shot count.
| Tier | DBD Ranged Killers | ||||
| S |  The Huntress Hunting Hatchets |  The Deathslinger The Redeemer | |||
| A |  The Trickster Showstopper |  The Unknown UVX | |||
| B | 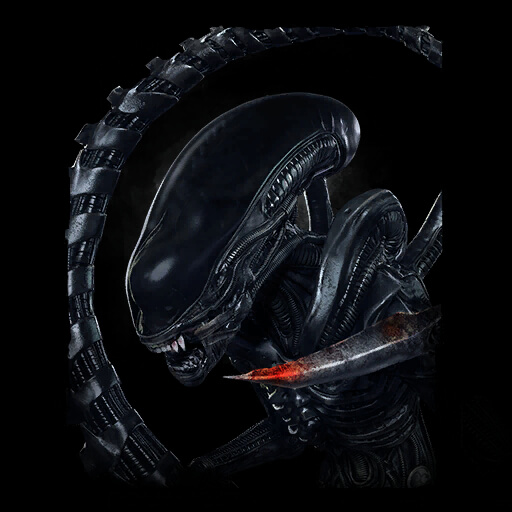 The Xenomorph Hidden Pursuit | 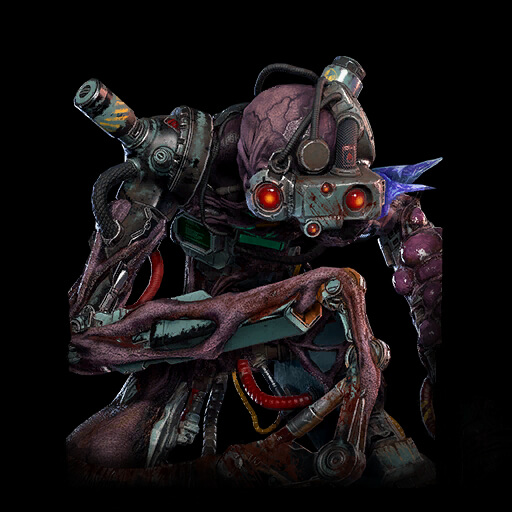 The Singularity Quantum Instantiation | |||
| C | 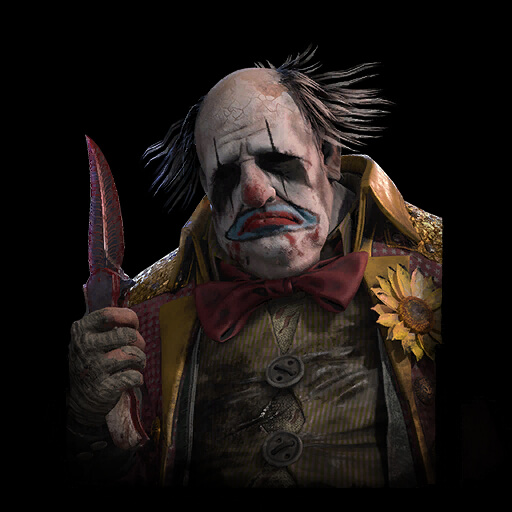 The Clown Afterpiece Tonic | ||||
DBD Map Pressure Killer Tier List
Map Pressure Killers spread their presence across the entire map simultaneously — slowing generators, harassing multiple survivors at once, or teleporting between objectives. These Killers are especially powerful in solo-queue where survivors struggle to coordinate under distributed pressure. Strong picks need tools that actively threaten objectives without the Killer being physically present.
| Tier | DBD Map Pressure Killers | ||||
| S | 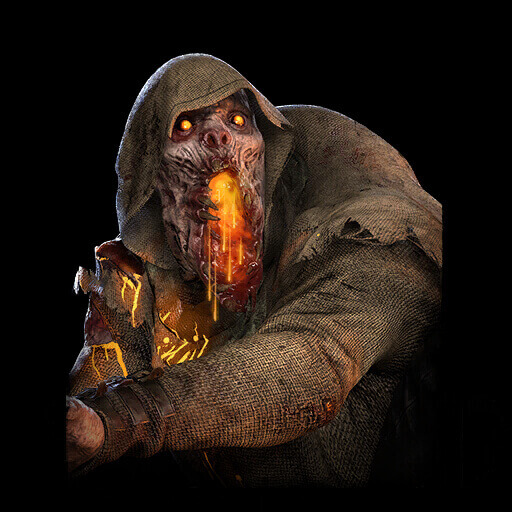 The Blight Blighted Corruption |  The Knight Guardia Compagnia |  The First Curse of the Upside Down | ||
| A |  The Plague Vile Purge |  The Hag Blackened Catalyst |  The Onryō Deluge of Fear |  The Houndmaster Scent of Blood | |
| B |  The Trapper Bear Trap |  The Doctor Carter's Spark |  The Cenobite Summons of Pain |  The Demogorgon Of the Abyss |  The Skull Merchant Eyes in the Sky |
 The Lich Vile Darkness |  The Dredge Reign of Darkness | ||||
DBD Snowball Killer Tier List
Snowball Killers become dramatically stronger as the match progresses — gaining power through injuries, hooks, or kills. These Killers often have a weaker early game that must be managed carefully, but can reach near-unstoppable states once their power spikes. Strong picks need a snowball condition that is achievable without perfect play and that creates a meaningful power differential once activated.
| Tier | DBD Snowball Killers | ||||
| S |  The Oni Yamaoka's Wrath | 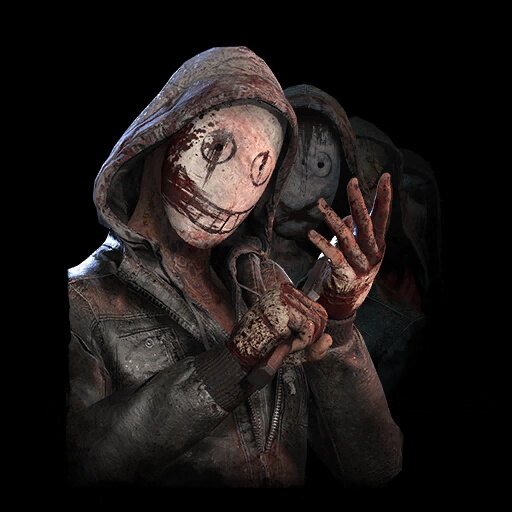 The Legion Feral Frenzy | |||
| A | 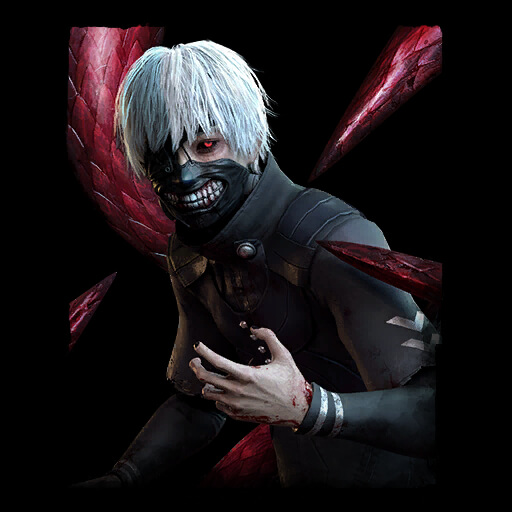 The Ghoul Kagune Predation | ||||
| B | 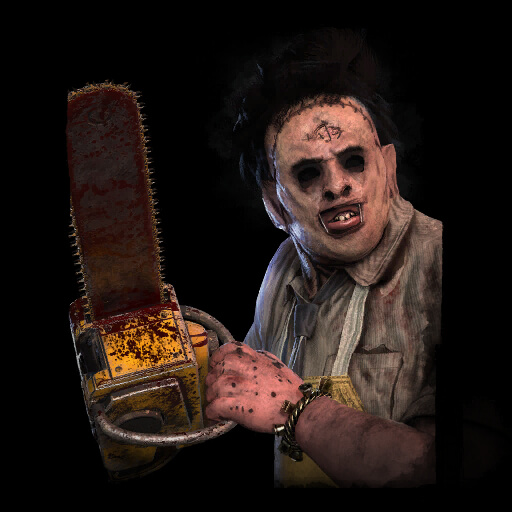 The Cannibal Bubba's Chainsaw | ||||
| D |  The Twins Blood Bond | ||||
Dead by Daylight Killer Tier Definitions
S Tier — God Tier / Meta-Defining: The absolute strongest Killers in the current patch. Oppressive in any hands, with consistent 4K potential at high MMR, strong performance on most maps, and low counterplay ceiling for survivors. Priority picks every lobby.
A Tier — Strong & Reliable: Core meta staples. Excellent alternatives to S-tier Killers. Consistent, effective in almost any matchup, and safe main-able choices that reward practice without demanding perfection.
B Tier — Situational / Counterpick: Effective on specific maps or against specific survivor playstyles. Require player mastery and favorable addon sets. High-skill players can make these very threatening.
C Tier — Below Average / Niche: Outclassed by stronger alternatives. May perform in casual lobbies but struggle at high MMR. Not recommended for climbing unless you are a dedicated OTP.
D Tier — Weak / Outdated: Significantly underperforming in the current patch. Survivor-sided matchups at high MMR. Requires the widest possible skill gap to find consistent success.
Patch 9.6 Killer Rework Spotlight — The Unknown
The Unknown's arrival reshaped the Stealth archetype. A creature of no confirmed form, it operates through hallucination placement and high-damage UVX strikes — punishing survivors who fail to investigate its spores. In Patch 9.6, a rework to its base kit makes it significantly more approachable for new players while preserving a high skill ceiling for veterans.
Basic Information
Before diving into its complex ability set, it is essential to understand The Unknown's fundamental identity on the map. The following table combines its core role with a balanced look at competitive viability.
The Unknown — Combat Profile | |
Role / Archetype | Stealth & Ranged Hybrid |
Tier Rating | A Tier — High potential post-9.6 rework; approachable but with deep skill expression |
Base Speed | 4.6 m/s (115%) |
Pros | ✅ Hallucinations create map-wide passive pressure ✅ UVX projectile punishes windows and vaults from range ✅ Teleporting to hallucinations generates unpredictable angles |
Cons | ❌ Hallucinations can be scouted and investigated safely by experienced survivors ❌ Requires constant hallucination management across the map ❌ Vulnerable to organized 4-man SWF communication |
The Unknown sits at A-Tier because its hallucination system demands active map awareness that most casual players overlook. Its highest value comes not from chasing, but from using hallucinations as both bait and transportation nodes simultaneously — a playstyle that takes time to internalize.
Comprehensive Ability Breakdown
The Unknown operates through two interlocked systems: its Hallucination network scattered across the map and its active UVX abilities used in chase. Managing both simultaneously is the core of its gameplay, allowing it to pressure objectives and chase survivors with the same set of tools.
Unique Passive | |
Unfathomable Form | Periodically spawns UVX Hallucinations around the map. Survivors who look at them are afflicted with a stacking debuff — only investigating or averting gaze clears it. If the debuff reaches full intensity, the survivor's aura is revealed to The Unknown. |
Active Abilities | |
UVX Projectile | Launches a targeted UVX burst that deals damage at range. Hitting a survivor afflicts them with UVX — activating the passive's revelation timer. Essential for busting loops without committing to a melee approach. |
Hallucination Teleport | The Unknown teleports to any active Hallucination on the map after a brief delay. Creates unpredictable approach angles and allows rapid repositioning between generators — the core of its map pressure game. |
Horrifying Form | When a survivor fully charges their Gaze meter, The Unknown enters Horrifying Form briefly — gaining a significant speed and power boost. Punishes survivors who fail to investigate hallucinations quickly enough. |
Mastering The Unknown means learning when to throw UVX and when to teleport — using hallucinations as both bait and movement nodes at the same time. The strongest players use hallucination placement to deny generators proactively, treating each one as a passive threat rather than a teleport button.
The Unknown isn't for everyone — its kit demands split attention between chase mechanics and map-wide hallucination upkeep. Most players will focus only on UVX in chase and miss the deeper pressure layer entirely, which is why it sits at A-Tier rather than S. For those who master both systems together, The Unknown offers one of the most uniquely rewarding playstyles in DBD.
How to Unlock Killers in Dead by Daylight
Expanding your Killer roster in Dead by Daylight is straightforward. There are several reliable methods:
• Auric Cells: The premium currency. The fastest way to unlock any Killer, including new releases and licensed characters from other franchises.
• Iridescent Shards: Earned by playing matches and leveling up. Can unlock a rotating selection of Killers from the in-game store — free-to-play friendly but slower.
• Rift Pass: Each seasonal Tome Pass rewards Auric Cells alongside exclusive cosmetics, effectively subsidizing future Killer purchases.
• Steam / Console Sales: Licensed and base game Killers go on sale regularly at 50–70% off. A great entry point for new players.
• DLC Bundles: Several Killer + Survivor chapter packs offer better value than buying characters individually, especially during launch windows.
To find the best deals and active codes for Dead by Daylight, check the current DBD redeem codes for free Bloodpoints and cosmetic rewards.
Tips for Choosing the Right Killer in Dead by Daylight
- Play Killers you already understand— Mastery matters more than tier placement. A B-tier Killer with 300 hours behind it will consistently outperform an S-tier pick you just picked up, especially at higher MMR where survivors punish every mistake.
- Account for the map pool — Every Killer has strong and weak maps. Know your worst maps and adjust your addon selection before the match starts. A Nurse on RPD plays entirely differently from a Nurse on Dead Dawg Saloon.
- Mind your MMR bracket — Tier lists reflect high-MMR performance. At mid-MMR, accessible Killers like Trapper, Wraith, and Huntress often overperform their listed tier because survivors make more predictable mistakes. Calibrate to where you actually play.
- Pressure gens, not hooks — The primary objective is preventing generator completion, not chasing the same survivor for three minutes. Killers who understand patrol routing and 3-gen positioning consistently outperform mechanically superior players who tunnel and ignore map pressure.
- Build around your Killer's weakness — Weak chase Killer? Stack regression perks. Strong chase but no gen pressure? Run Pop Goes the Weasel and Deadlock. Your perk build should cover what your Killer's power doesn't.
- Read the lobby before the match starts — Multiple toolboxes means expect a gen rush; bring regression. Multiple medkits mean Sloppy Butcher will counter their healing value. The lobby screen is free information — use it.
Patch 9.6 Dead by Daylight Balance Changes
⚡ Core Meta Shift: Gen-Regression & Distributed Pressure Dominates
📈 Buffs & Upgrades
- The Unknown received a UVX projectile hitbox increase and base reload time reduction from 3s to 2.5s. Hallucination spawn rate slightly increased on larger maps, improving mid-game pressure consistency significantly.
- The Trapper bear traps now deal Deep Wound on trigger rather than an instant down. Compensated with a reduced set time of 2.0s (down from 2.5s), improving his mid-game patrol loop without changing his core identity.
- The Wraith received a partial Windstorm base addon bake-in; uncloak speed increased by 8% with Windstorm active. A significant quality-of-life improvement for one of the most popular Killers in the game.
- The Knight guards now patrol a slightly wider path and react to vault sounds within 8m. Increases gen-patrol effectiveness without requiring direct player input.
📉 Nerfs
- The Blight received a slight rush collision detection adjustment on windows to reduce exploit interactions. The core gameplay loop remains fully intact at high MMR.
- The Skull Merchant drone detection radius reduced from 10m to 8.5m, and Eyes in the Sky cooldown after detection increased by 1 second. Reduces oppressive passive-lock setups without eliminating her map pressure viability.
- The Artist's crow flock speed is slightly reduced on first activation. Top-tier performance remains unaffected; it primarily targets speed-rush crow burst setups used in niche competitive builds.
🔄 Map & System Updates
- Monstrous Shrine Rework: Basement hooks now grant Killers a stacking gen regression aura for each hook state in the basement (1% per state, up to 4%). Encourages basement-focused playstyles without creating oppressive snowball conditions.
- Generator Regression Cap: Individual generator regression from perks is now capped at 2.5% per second (down from 3%). Affects several high-value regression perk stacks at maximum efficiency.
- Endgame Hook Pressure: With the refined Anti-Camp meter system in recent patches, Killers must rely more on proxy-camping and forcing hook trades rather than face-camping. Staying too close accelerates the self-unhook bar, punishing unoptimized patrol routes.
- MMR Adjustment: The MMR system now applies a soft reset after a Killer completes a 10-match win streak, maintaining competitive lobby quality at the highest brackets.
Final Thoughts
The meta in Dead by Daylight shifts with every BHVR patch, and knowing which Killers are genuinely strong right now is the fastest path to consistent high-pressure games. Whether you commit to an S-tier powerhouse or grind out a difficult B-tier specialist, understanding your Killer's core purpose — anti-loop, stealth, ranged pressure, map control, or snowball — will always give you the clearest framework for improvement.
If you’d rather jump straight to a Prestige 100 character instead of grinding for DLCs and perks, you might want to look into buying a DBD account on GamsGo. It’s a great way to skip the 'leveling from zero' phase.
Good luck in the fog! 🩸
Dead by Daylight Killer FAQ
Who is the strongest Killer in Dead by Daylight?
In the current meta, the strongest Killers are typically those who can counter or bypass looping entirely, such as The Nurse, The Blight, The Spirit, and The Artist. Strength varies by map and addon setup, so it is best to follow updated tier lists and main a Killer you can execute consistently under pressure.
What are the rank tiers in Dead by Daylight?
Dead by Daylight uses a hidden MMR system rather than visible rank badges. Players are matched based on their performance history for each specific Killer. A separate visible grade system (Ash through Iridescent) resets monthly and rewards Bloodpoints, but does not affect matchmaking directly.
What is the best Killer for beginners in DBD?
The Trapper, The Wraith, and The Huntress are the standard beginner recommendations. Trapper teaches map setup fundamentals. Wraith introduces approach timing and the importance of pressure. Huntress develops aim and hatchet management — a skill that transfers to every other ranged Killer in the roster.
Related Articles:
Overwatch Tier List Season 2 (2026)
Marvel Rivals Tier List Season 7