Ever since Enigma of the Labyrinth: Operation Bagel arrived in Version 3.1, plenty of Proxies have gone into Papago Hollow with the same slightly unreasonable goal: to become a legendary investigator and fill every last slot in the collectible catalog. That usually means one more run, then somehow another one after that.
I know the feeling. I finally got Sunna cat ears collectible recently, while Remielle's mask is still nowhere to be found. Collecting valuables is not just about completing the catalog. Expanding it also earns Polychromes and other rewards, while many of the items themselves are small windows into the characters, places, and odd corners of New Eridu.
After two seasons of Operation Bagel, this guide brings together what I have actually found useful for both new investigators entering Papago Hollow and experienced runners trying to get more value out of every extraction, including Agent picks, routes, keycards, Ulidim, and when it is finally time to leave.
If you want a smoother time pushing deeper into Enigma of the Labyrinth: Operation Bagel, you can top up ZZZ on GamsGo to round out your teams and prepare for the future Sunbringer version.
Best Operation Bagel Routes for High-Risk Runs
SUBURBS ILLUSION
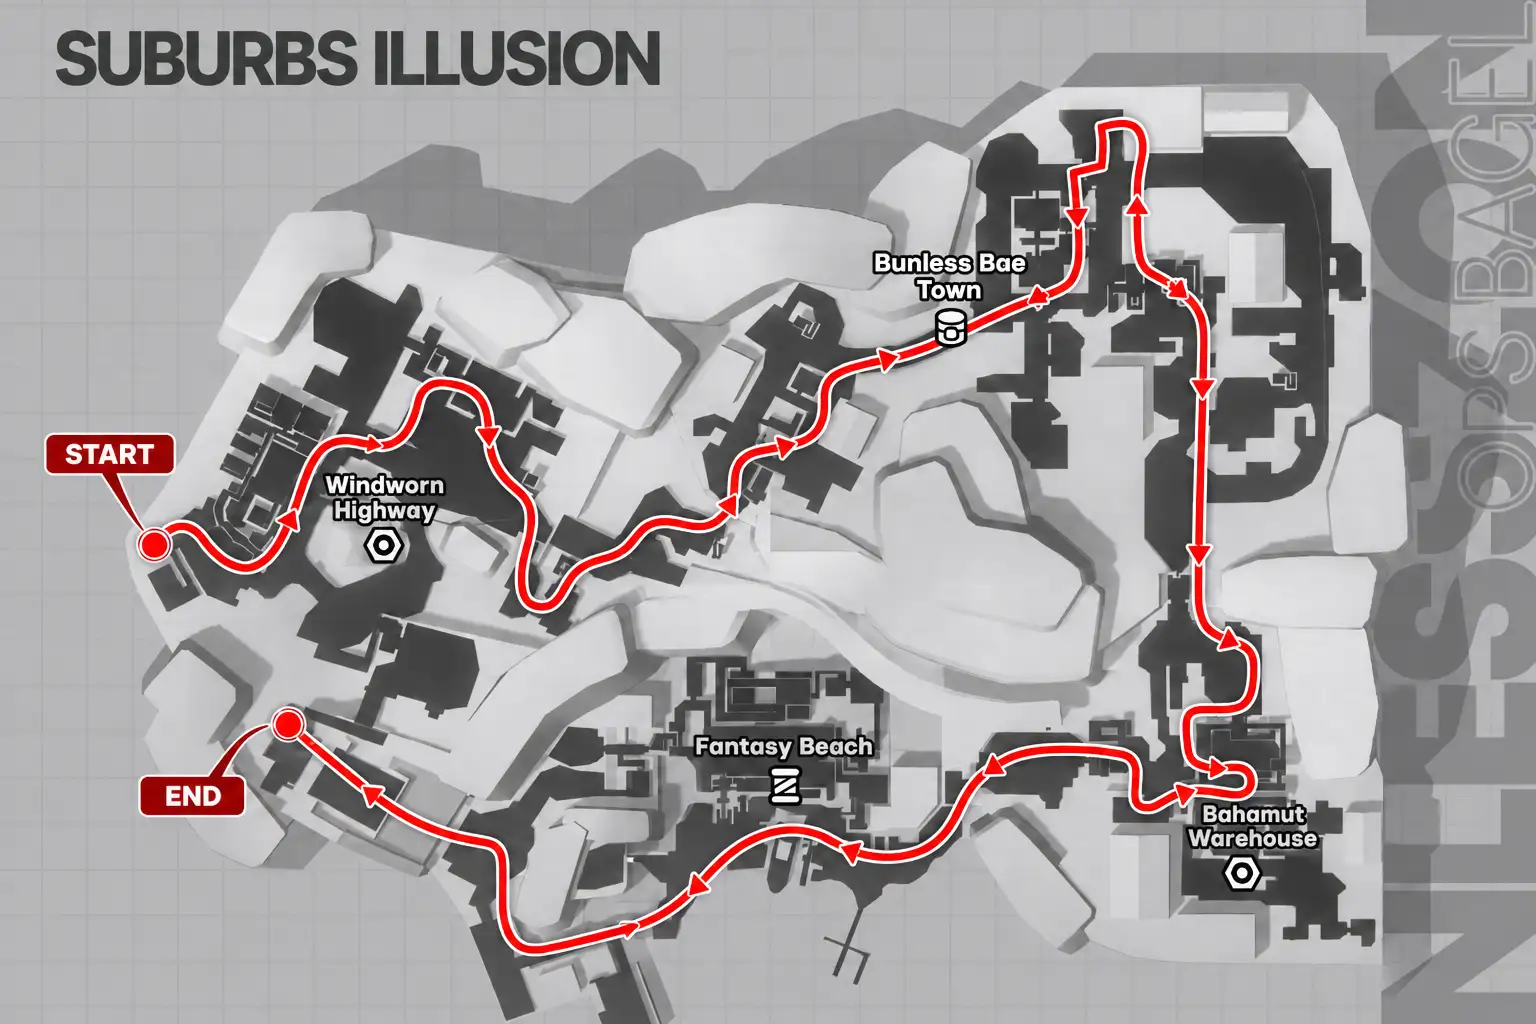
Suburbs Illusion combines areas styled after Fantasy Beach, Windworn Highway, Bunless Bae Town, and Bahamut Warehouse, giving you plenty of room to rotate between different loot areas. The red route above only shows the general direction of a full-map run, so use it as a reference rather than something you need to follow exactly.
One advantage of the route shown above is the rotation from Bunless Bae Town toward Bahamut Warehouse. This section lines up well with Pyrois' rail running, letting you cover the distance much faster and spend less of the run simply moving between loot areas.
I would only take the Windworn Highway → Fantasy Beach route if I am aiming for a quick extraction. For a longer loot run, it usually creates unnecessary backtracking later. That extra travel time lets Cacophony keep eating into your team's HP and gives Ulidim more chances to force you to bail early.
Compared with Janus Illusion, Suburbs Illusion puts much more weight on routing. Janus is smaller and denser, with less downtime between loot spots. Suburbs is larger, so poor rotations cost more time and resources are more spread out. In return, longer runs can pay off if you route well and make good use of its Keycard rooms and high-value events.
JANUS ILLUSION
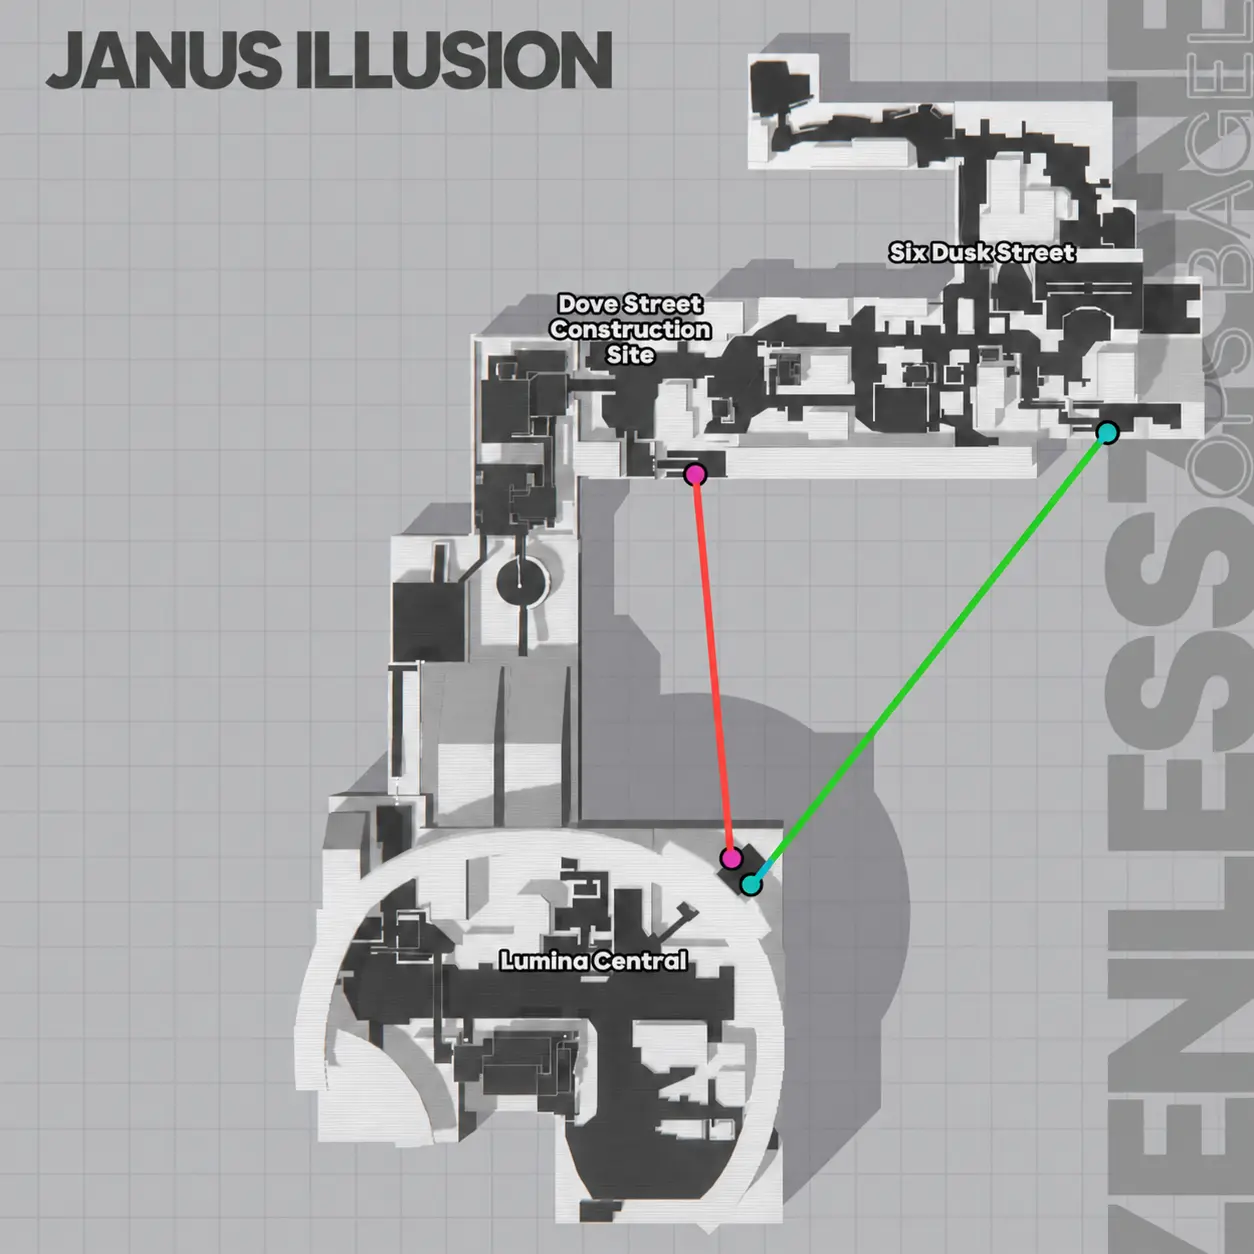
Janus Illusion does not really have one fixed route. Your spawn and random high-value events often matter more than any preset path. A Data Recovery event, for example, can send you across the map, and it is not unusual to finish the last investigation point in Lumina Central only to find the final objective back near Six Dusk Street.
The subway gives Janus much more flexibility. If you spawn near Dove Street Construction Site, you can work your way through Six Dusk Street, then use the nearby transit connection to rotate back toward Lumina Central for the later part of the run and extraction.
This is one of the map's biggest advantages: even when an event pulls you away from your original plan, you have ways to cut out a lot of the return trip.
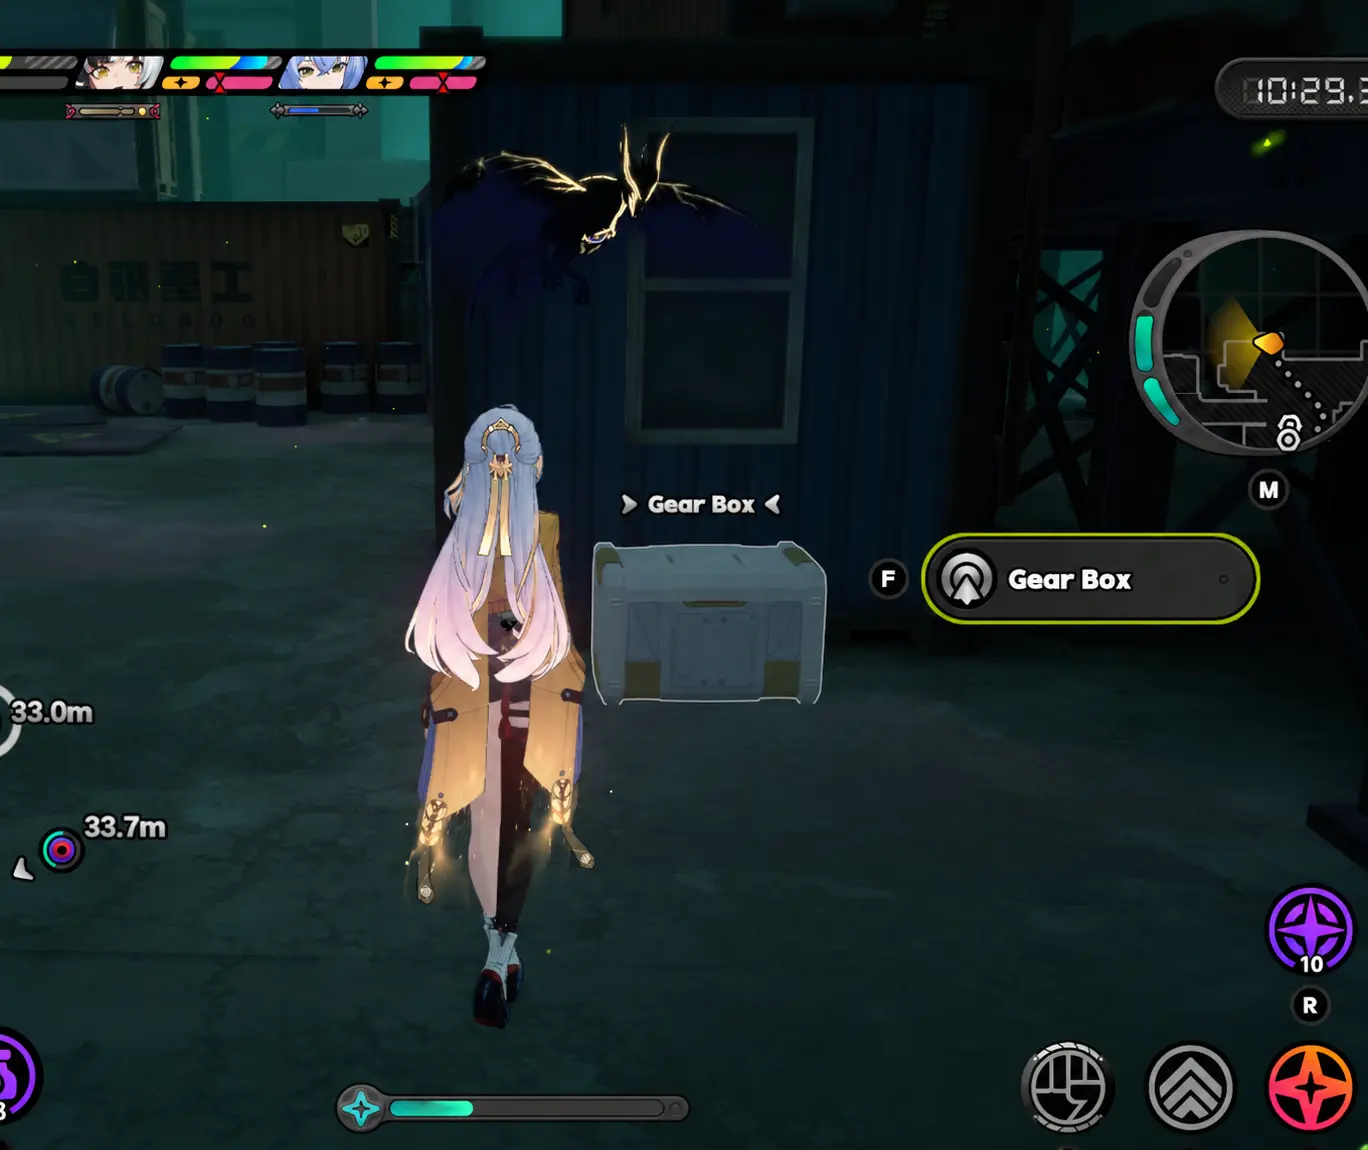
Janus is also more compact than Suburbs Illusion, and community players often use it for short, efficient Gear Box runs because several boxes can be checked without covering much ground. My own tip for a top-side spawn is to push a little farther forward and pull the Twin Marionettes together to save time.
SUBURBS ILLUSION Special Event - Starlight Billy
Starlight Billy can randomly appear in the large elevator between Fantasy Beach and Windworn Highway in Suburbs Illusion. On the map, look for the elevator in the lower-left section, marked by a rectangular icon with three white horizontal lines. Starlight Billy is a random encounter, so he will not appear in every run.
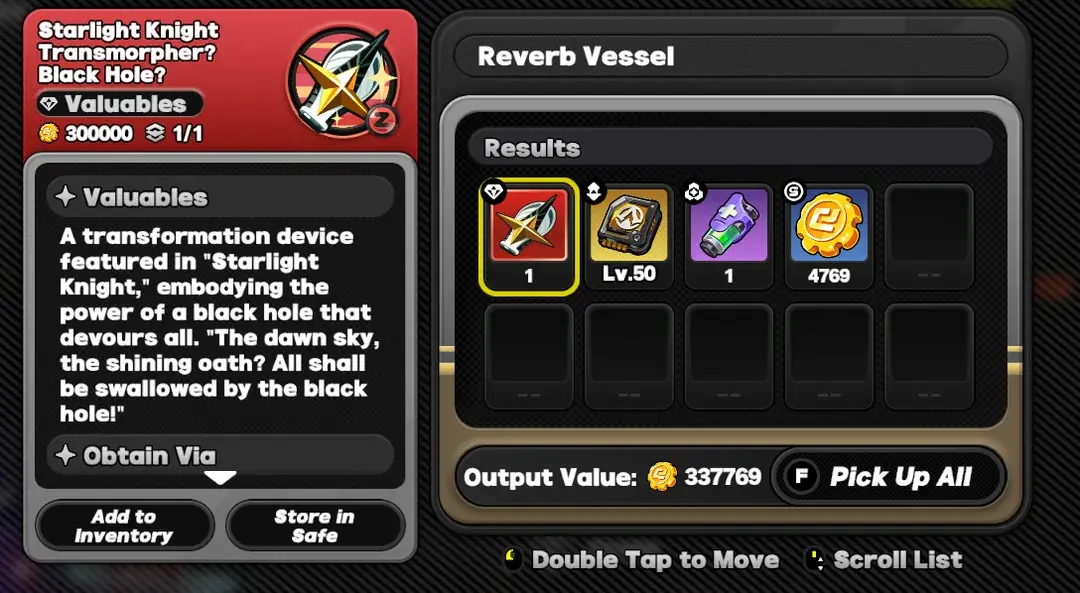
The elevator locks you into a special Doppelganger Starlight Billy fight and limits your usual Etheric Phantom options. Defeating him can reward rare Z-Rank Transmorpher Valuables, making the detour worthwhile if you are filling the Collection, but risky on expensive High-Risk runs.
How to Farm Gear Boxes and Blueprints in Operation Bagel
Best Gear Box Farming Route in Janus Illusion
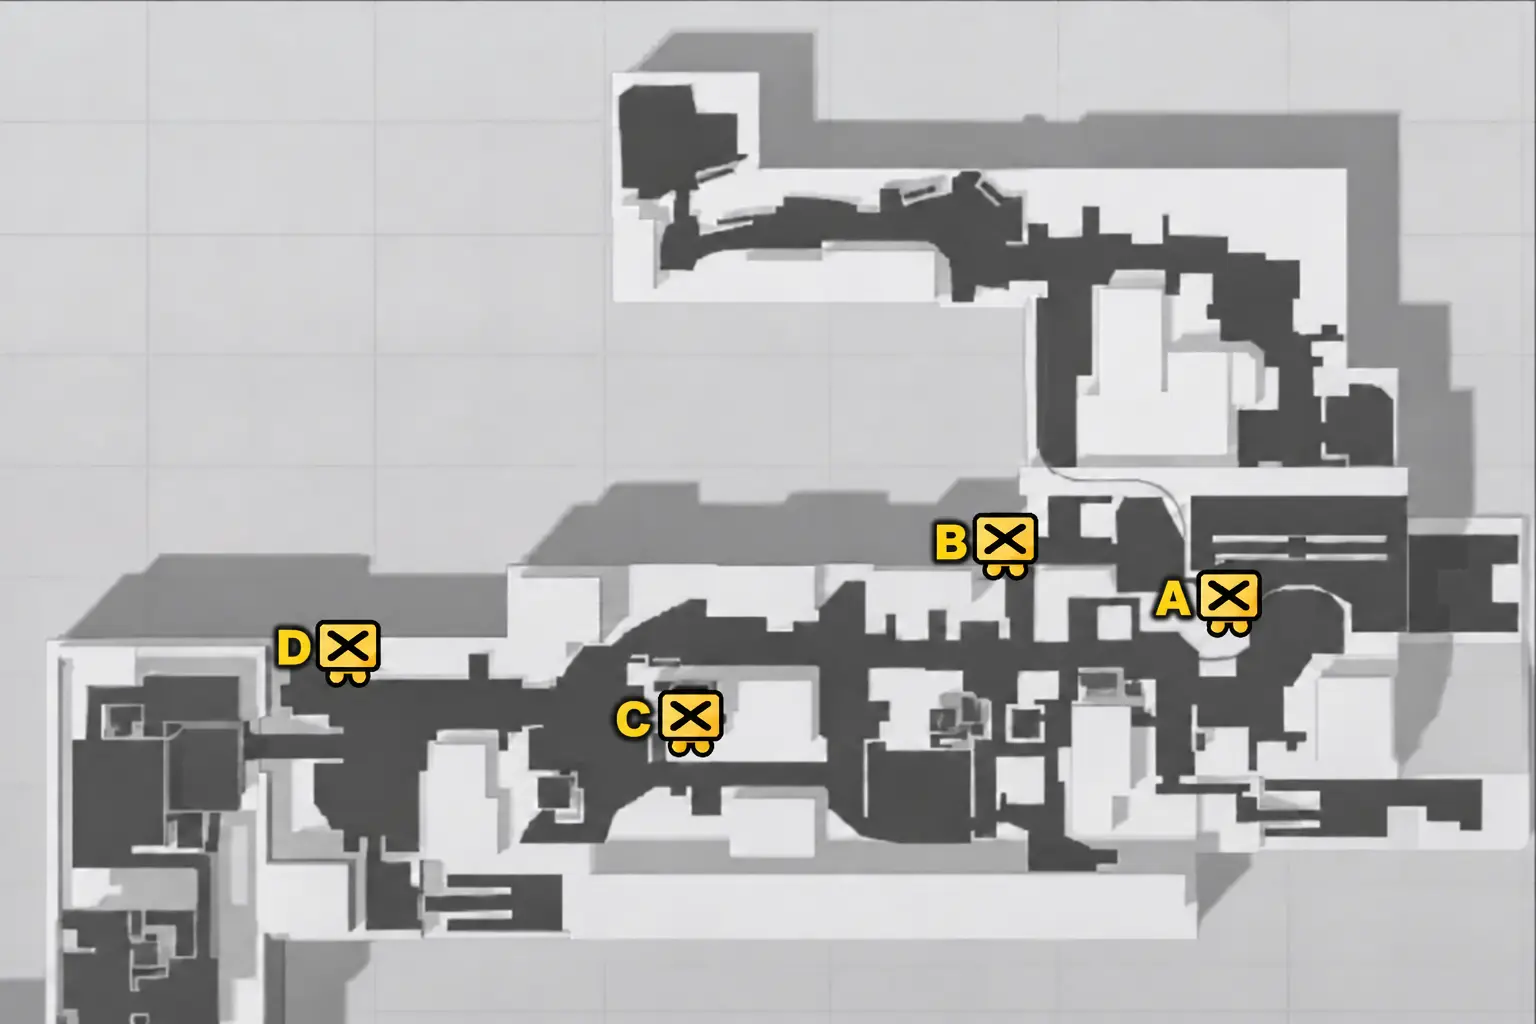
A. Six Dusk North Station, South 2F Platform | B. Random Play North Corner | C. Dove Street Site, North Side | D. Unfinished Site, 3F |
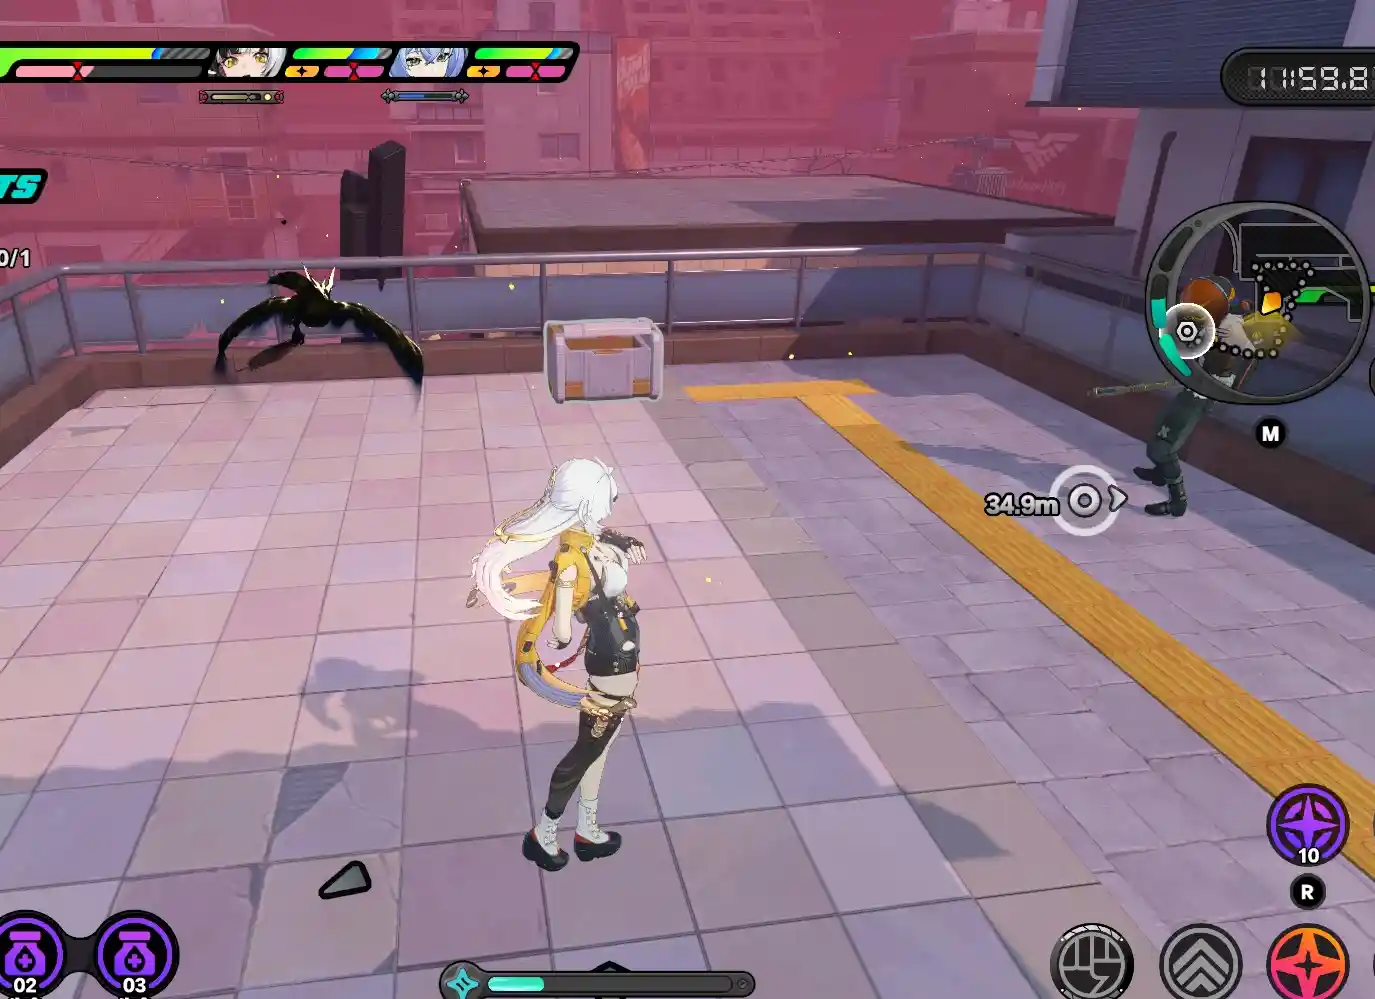
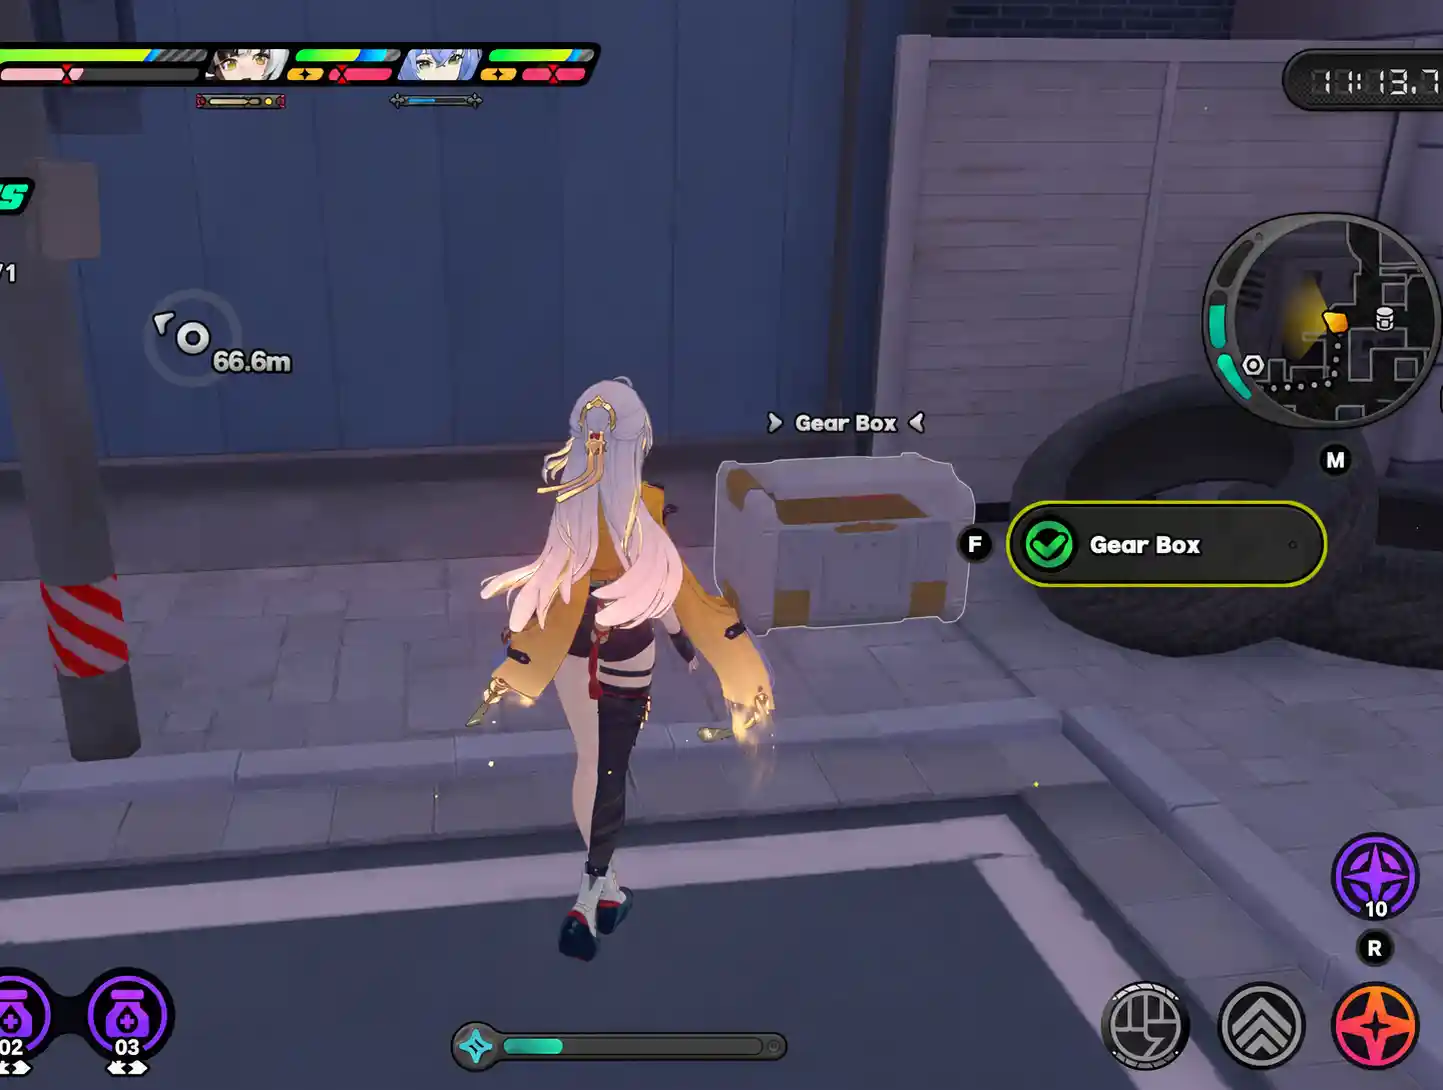
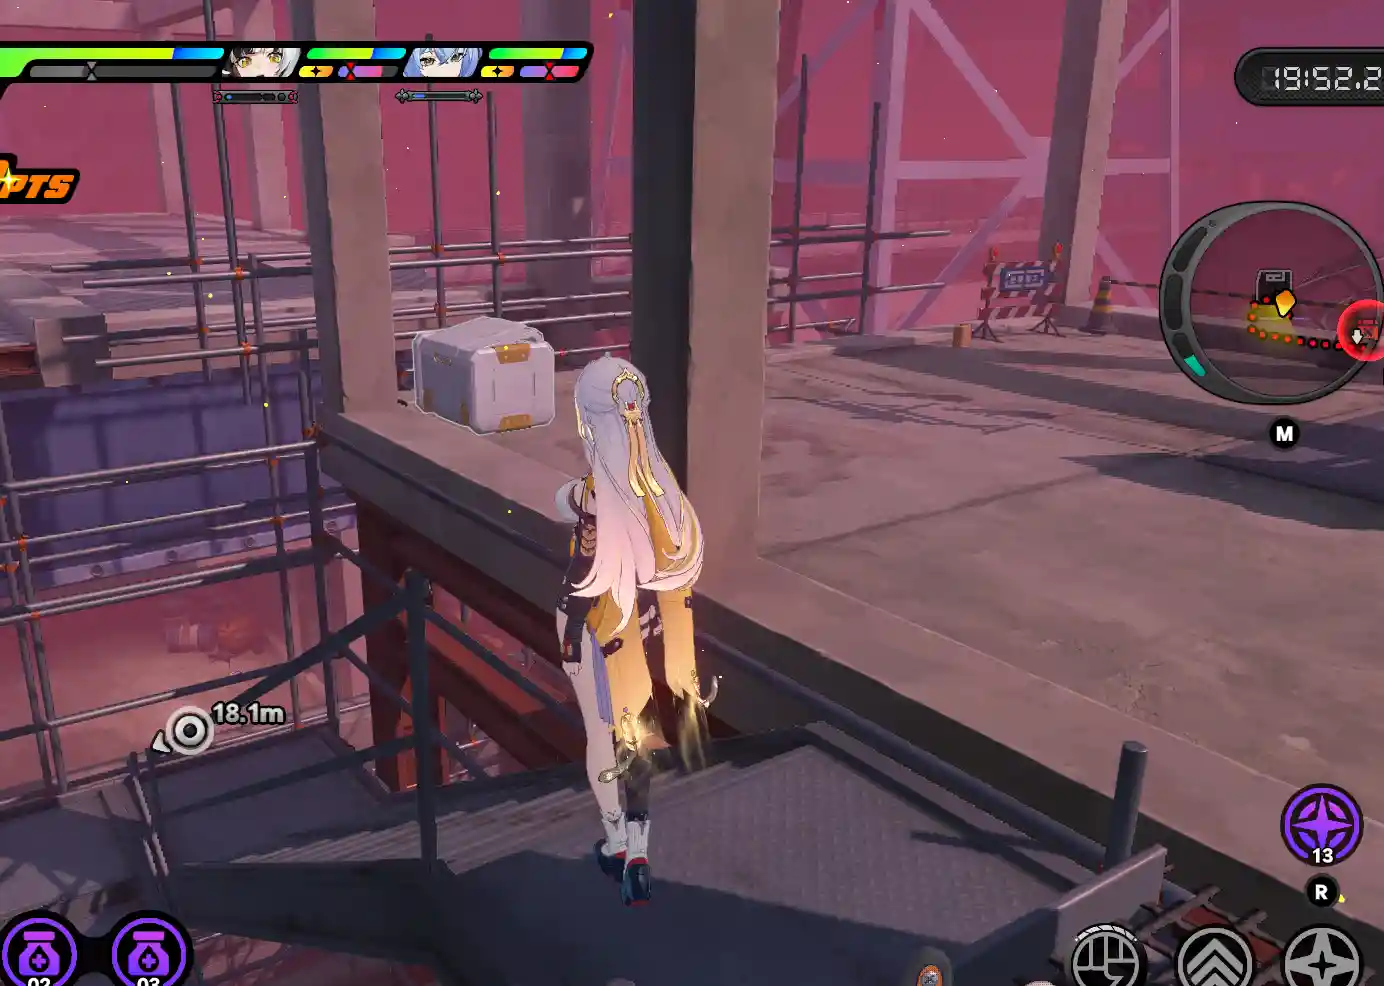
Which Blueprints Should You Farm First?
Farm what the shop cannot solve for you. Your main Gear Box targets should be Bangboo Big Inventory, High-Grade Blade of the Other series, and High-Grade Anti-Corruption Device.
- [Blueprint] High-Grade Anti-Corruption Device: This is one of the biggest upgrades for longer High-Risk runs. It reduces squad Corruption gain by 55% and Agent damage taken by 45%, giving you much more room to keep looting instead of cutting a route short.
- [Blueprint] High-Grade Blade of the Other: The S-Rank Blade variants improve Perfect Block, Phase Dash, and Powerful Slash, making fights faster and giving you better tools against elites, bosses, and Cacophony Shields.
- [Blueprint] Bangboo Big Inventory: The S-Rank version adds 30 Inventory slots, which has a direct impact on almost every run. More space means fewer forced drops, more high-value loot carried to extraction, and less time spent deciding what to leave behind.
Other blueprints are still useful, especially for your main Agents or favorite Etheric Phantoms. However, many Tactical Prism blueprints can be bought from Boojee's Store, and Phantoms can be restocked directly, so they are usually lower-priority farming targets than the three equipment blueprints above.
Best Agents and Teams for Operation Bagel
The best Operation Bagel Agents are not always the strongest Agents in Shiyu Defense or Deadly Assault. Mobility, survivability, i-frames, healing, and Tactical Prism effects matter much more during long loot runs.
Best Ye Shunguang Teams






Ye Shunguang is arguably the most dominant all-around Agent in Operation Bagel right now. Her mobility, generous i-frames, and massive burst damage make long loot runs unusually comfortable, while still giving her more than enough firepower for High-Risk fights and bosses.
Sunna + Zhao is the smoother, lower-cost option, helping Ye maintain her Qingming Sword Force cycle and reach Enlightened Mind more consistently. Sunna + Dialyn instead pushes her burst ceiling higher by giving Ye more Ultimate-based entries into Enlightened Mind.
Best Yixuan Teams






Yixuan is a very strong Operation Bagel pick thanks to how well her kit handles long, messy fights. Her EX Special can enter a Parry stance and trigger a Perfect Block, which gives her strong defensive utility, while her two Ultimates make clearing tougher enemy groups and bosses much easier without sacrificing too much safety.
Lucia + Dialyn is the higher-damage option, giving Yixuan stronger Stun pressure and more aggressive Ultimate cycles. Lucia + Ju Fufu is the steadier alternative, with reliable off-field Daze and team buffs, making it a better fit for safer, more consistent runs.
Best Miyabi Teams






Miyabi is a very comfortable pick for Operation Bagel thanks to her wide attack coverage, fast movement, and plenty of i-frames. She clears groups quickly, rotates around the map well, and her flexible team options make her easy to fit into both safer loot runs and more aggressive High-Risk setups.
Yuzuha + Nangong Yu is the stronger premium setup, with faster Anomaly buildup, more frequent Disorder triggers, and quicker Stun windows. Yuzuha + Vivian is a flexible alternative that adds reliable off-field Abloom damage, but Nangong Yu generally offers the higher overall ceiling for Miyabi.
Best Remielle Teams






Remielle is a strong Operation Bagel pick because her Lumiflux and Luminize can inherit different Attributes from her teammates, letting the same core adapt to bosses with different weaknesses. As a Void Hunter, she also brings excellent mobility, long i-frames, heavy burst damage, and strong off-field contribution.
Velina is basically the core partner, while Aria and Promeia are two of the strongest current choices for the third slot. Phoenix is also shaping up as a natural partner in Version 3.3 if her current kit direction holds, but Velina remains the hardest piece of the team to replace.
The catch, from my own Bagel runs, is that Remielle still spends a lot of the fight building resources off-field, so your on-field Agent has to survive the dangerous part of the run. Neither her Talent nor Tactical Prism fully makes up for that weakness.
Remielle herself has long i-frames and absurd burst windows, but once Cacophony stacks up and Ulidim lands a few clean hits, a fragile driver can disappear very quickly. That makes Remielle teams powerful, but noticeably more demanding on your frontline play than something like Ye Shunguang.
Best Starlight Billy Team



Starlight Billy has quickly become one of the strongest new picks for Operation Bagel. His HP-based Rupture kit gives him strong damage and a naturally bulky stat line, while his many i-frames and built-in healing make long High-Risk runs much more forgiving.
Season 2 pushed him even further with a new Tactical Prism that reduces damage from bosses and Ulidim as you collect more Red Valuables. It fits the mode extremely well, giving Billy even more room to survive the long, punishing fights that usually end weaker frontline Agents.
Let Starlight Shine!
Which Keycards Are Worth Using in Operation Bagel?
You finally find a Keycard in a Briefcase, only to realize the room it opens is completely off your planned route. Turning back could mean several extra minutes of travel, more Cacophony buildup, and a much higher chance of running into Ulidim before extraction.
That is where Keycard value really matters: some rooms are worth changing your route for, while others are better left for a run that naturally passes nearby.
Below is my shortlist of the most worthwhile Keycards on both Operation Bagel maps, ranked by how much loot value they offer compared with the time and detour they usually cost.



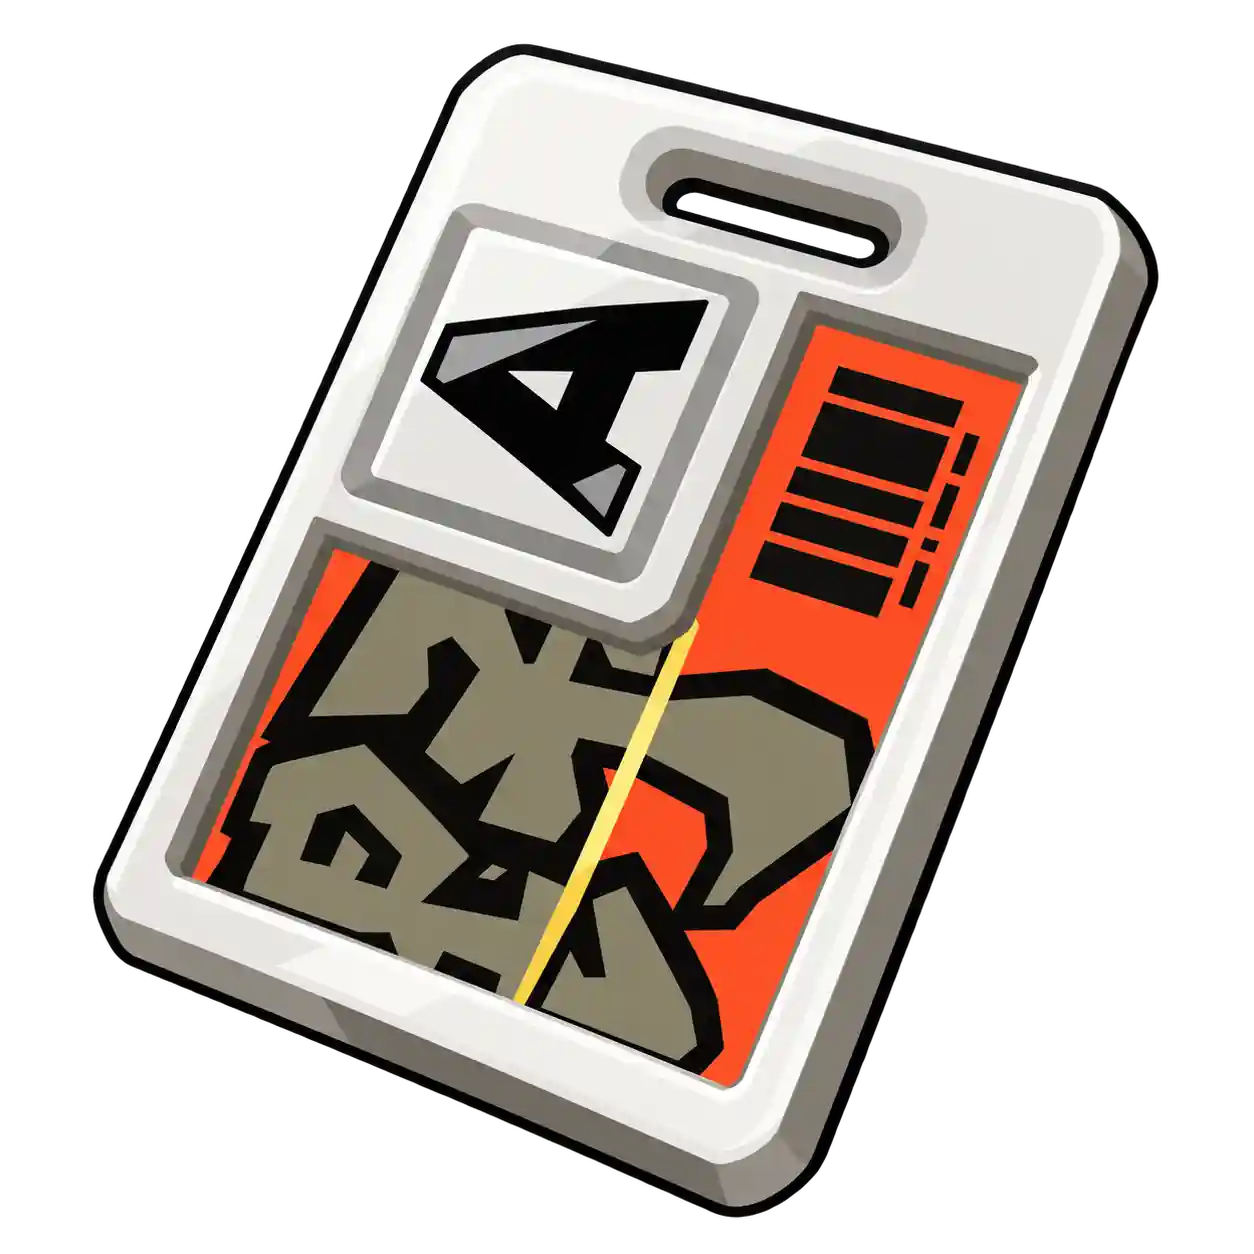

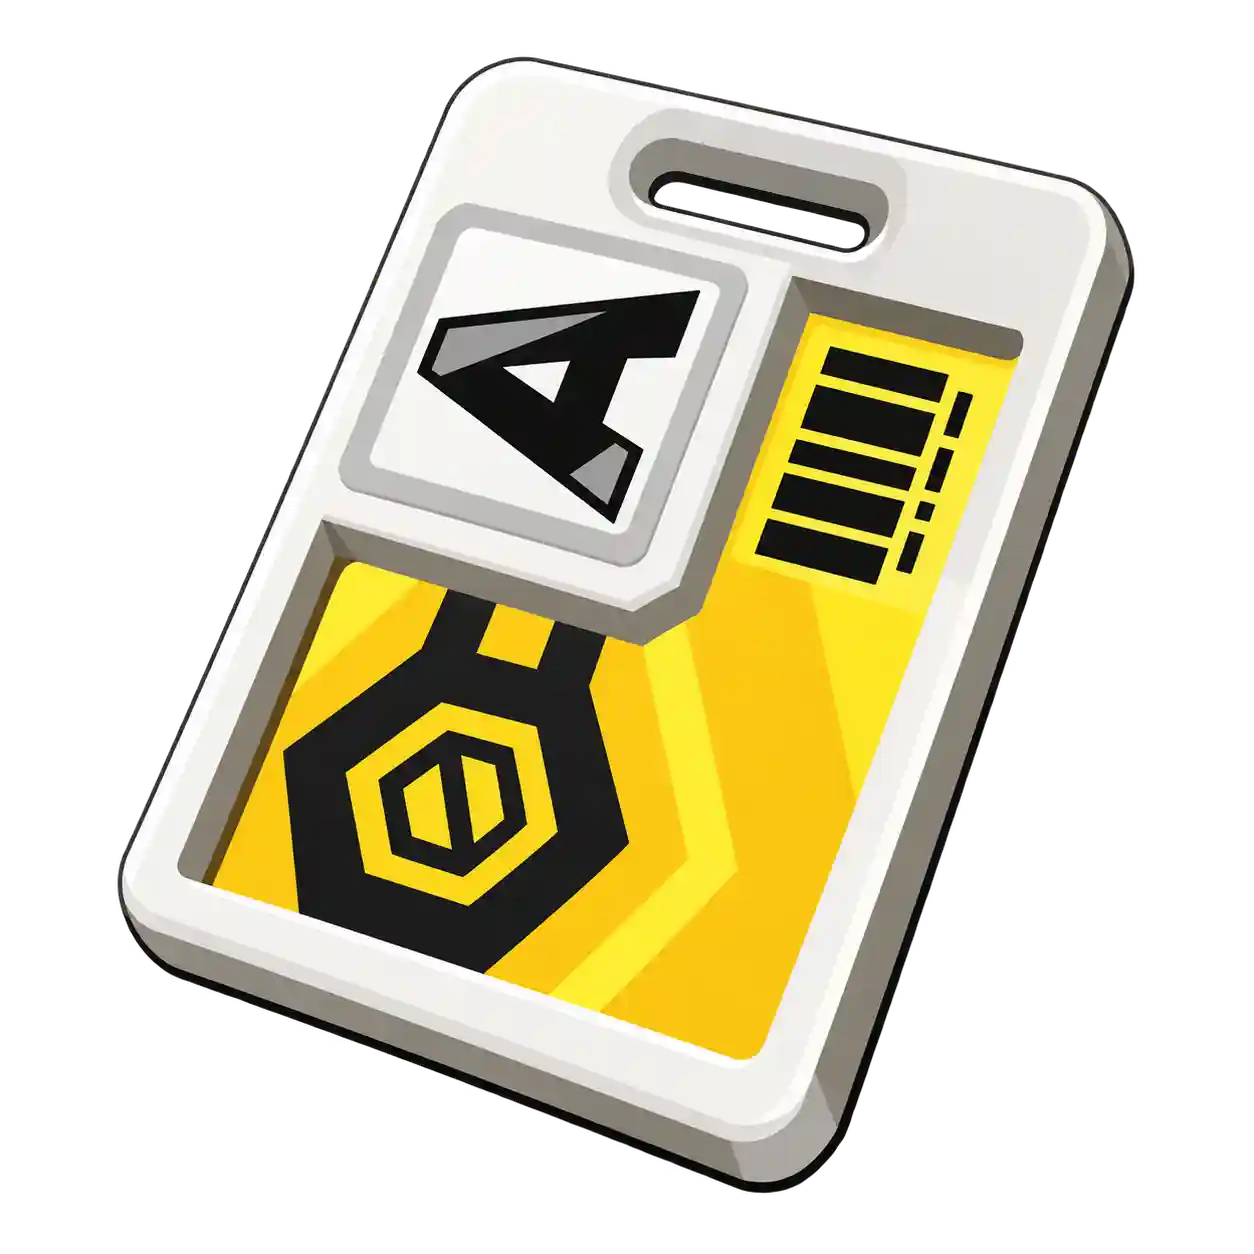
T0 Must Open
The two Z-Rank Keycard rooms, Bahamut Warehouse 2F and Lumina Central Top-Floor Conference Room, stand out because they are more than just rooms full of strongboxes.
Red Valuables can spawn directly on tables or the floor, so sometimes the jackpot is sitting there before you even open a Strongbox. I have personally found Boo-rick Phones and the Crispy Pan-Fried Dumpling Ornament sitting directly on tables or the floor.
If one of these cards drops during a High-Risk run, I am either heading straight there or getting out safely and coming back in another High-Risk run just to open it. If I find one in a lower difficulty, I simply save it for High-Risk.
T1 Worth Opening
Phantom Aquarium West Gate is one of the few non-red cards I would actually change my route for. The Aquarium is already a strong loot stop, and if you follow a route similar to the one above, you will probably pass through it again before extraction anyway.
The room also packs several high-value loot spots into a small area, so it is usually worth opening when you have the card.
Lumina Central 1F Lounge and 2F Reception Room are strong mainly because they are so easy to chain together. If you are already clearing Lumina Central, opening both costs very little extra travel, especially when you also have the Top-Floor Conference Room card. That efficiency is what pushes them into T1.
Best Etheric Phantoms for 3M High-Risk












T0 is for Phantoms that can directly swing a High-Risk fight. Thracian stands out for shredding Ulidim’s Cacophony Shield, while Primordial Nightmare brings huge damage and Scorched Horizon brings strong Daze.
T0.5 is led by Golden Bangboo, one of the best utility picks for faster looting. Haytor and Scorpse are both strong options, but their impact is less decisive than the T0 picks.
How to Deal with Ulidim the Hound
The Hound Ulidim is spotted, hot on your trail.
Once this warning appears, Ulidim has started hunting you. From here, you need to know when the Hound can appear, how its phantoms are connected to the real Ulidim, how to drive it away, and what can pull you into its Night Domain.
When Does Ulidim Spawn?
Ulidim does not spawn on a fixed timer. During a run, the Hound is mainly triggered as the total value of the loot you are carrying crosses hidden earnings thresholds. Community testing puts the first natural spawn at roughly 350K–400K Gear Coins worth of supplies, although the exact breakpoint can vary between runs.
After you drive Ulidim away, there is usually a short cooldown of around three minutes before another natural spawn can occur. Keep looting during this window and, once the cooldown ends, crossing another earnings threshold can bring the Hound back. This is why high-value runs often see Ulidim several times rather than just once.
Ulidim Phantoms and the Real Hound
Ulidim Phantoms appear inside Cacophony Soundscapes, which are easy to spot from the cyan-green screen filter. These smaller Hounds are projections of Ulidim that can trigger the real Hound to materialize.
A Phantom-triggered Ulidim is less relentless than a naturally spawned Hound. If you break line of sight and keep your distance for a while, it can eventually give up the chase.

It also feels somewhat weaker in practice. While no exact value is confirmed, its Cacophony Shield appears thinner than that of a naturally spawned Ulidim, making it easier to drive away.
Besides, only one real Ulidim can be active at a time. If the Hound is already chasing you, any Phantom you encounter will stay in Phantom form instead of materializing.
How to Drive Away Ulidim
Outside of Nightfall, Ulidim cannot be killed. Your goal is to break its Cacophony Shield. Once the shield is depleted, the Hound gives up the pursuit and disappears on the spot. Normal attacks work, but parrying the purple flash and using Etheric Phantom: Thracian will break the shield much faster.
If you are using Ye Shunguang, watch your timing during Enlightened Mind. Her long i-frames can cause Ulidim's attacks to pass through you and throw off your purple parry timing. Follow her normal Basic > EX rotation, but do not force the full string when a parry window is coming.
How to Enter Ulidim's Night Domain and Beat the Hound
When Ulidim uses the long purple startup shown below, it is preparing its Control Skill. After charging, it disappears, then reappears with a two-claw grab. This move appears randomly, and you must stand still and let it hit you to enter the Night Domain.
The grab itself does not deal damage, but Astra Yao's M1 Song of Protection or healing items that negate the next hit can cancel it, so avoid using either while waiting for the grab.
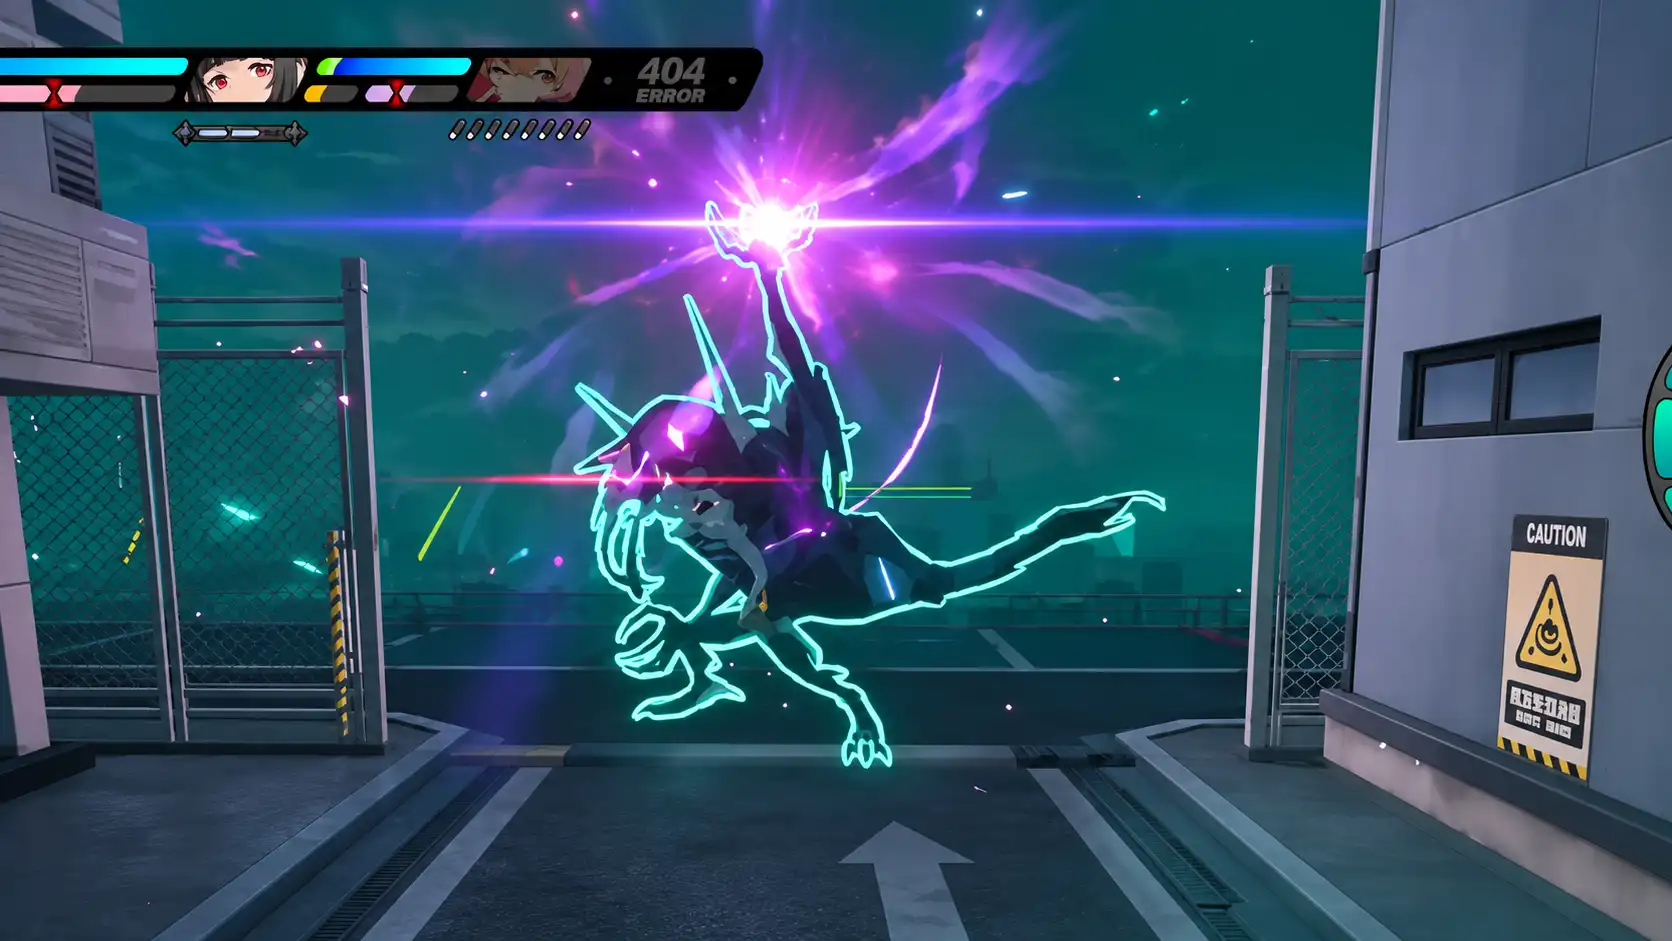
Inside the Night Domain, Ulidim gains new attacks and takes reduced damage from Etheric Phantoms, so the fight can be resource-heavy.
The simplest approach is to dump several high-rank damage Phantoms into it and pair them with Ye Shunguang's Z-Rank Tactical Prism, which lets Etheric Phantom: Primordial Nightmare convert her incoming Chain Attack into an Ultimate for repeated burst damage.
Defeating Ulidim unlocks the achievement Changing Sides and can also drop its exclusive red collectible. The fight can cost a lot of Phantoms or leave your squad low on HP, so if you barely survive it, extracting through the Hound is usually safer than pushing on to the Final Battle for one more gamble.
Operation Bagel Tips for Faster Routes and Higher-Value Runs
1. Complete Season Commissions First
Prioritize Season Commissions for Season Coins, which unlock Safe expansions and Z-Rank Tactical Prisms. These upgrades are some of the biggest progression boosts before you start pushing consistent 3M runs.
2. Keep One Ulidim Phantom for Nightfall
Save one Phantom until Nightfall so you can trigger Ulidim when needed instead of waiting for a natural spawn.
3. Don't Rush Into 2M or 3M Runs
Build up your R&D, gear, and Gear Coin reserve first. Higher investments are much easier to sustain once your runs are already stable.
4. Replace Materials with High-Grade Valuables
Swap common materials for gold-quality Valuables when your inventory fills up. Their higher value per slot directly increases extraction value.
5. Skip Fights That Do Not Pay for the Time
Avoid unnecessary fights that do not block your route or reward valuable loot. Less combat means faster runs and more time for high-value areas.
6. Protect Your Run After a Costly Hound Fight
If Ulidim drains your Phantoms or leaves your squad low on HP, extract through the Hound instead of risking everything at the Final Battle.
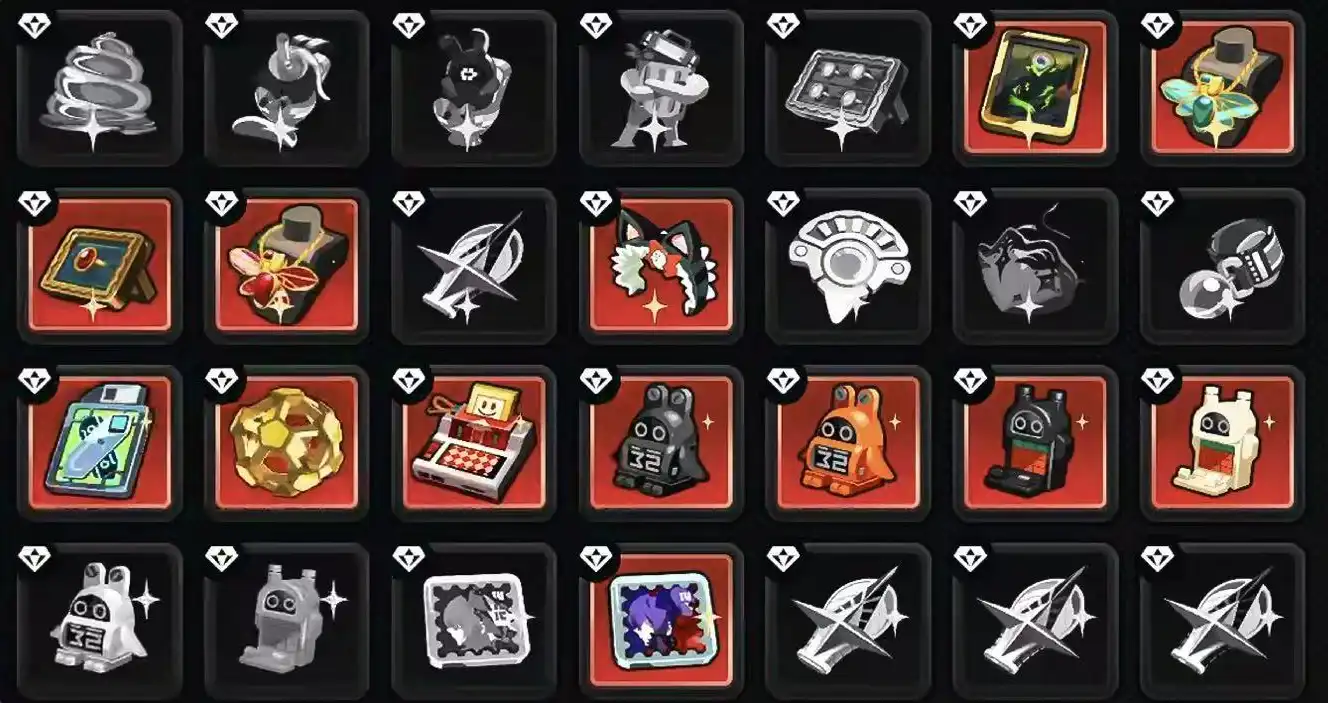
Once your runs are stable, the rest is up to you: complete the Collection, or keep farming for that one rare Valuable that refuses to drop.
Conclusion
This guide covers the key parts of running Operation Bagel efficiently, from map routes and Gear Box farming to Agent teams, Keycards, Etheric Phantoms, and dealing with Ulidim. Once you know where to go and what is worth bringing, even High-Risk runs become much easier to plan.
The main rule is simple: build for consistency before chasing higher returns. Learn the route, secure your core Blueprints and Tactical Prisms, and only raise your investment when you can reliably handle the run. A clean extraction is always worth more than a greedy run that ends with everything lost.
If you want to get more out of your ZZZ budget, you can top up Zenless Zone Zero on GamsGo and get more Polychromes for the same budget, with savings of up to 25%.
ZZZ Bagel FAQ
Do Normal Agent Builds Matter in Operation Bagel?
Not much. Operation Bagel shifts most of your power into Tactical Prisms, Squad Equipment, and R&D upgrades. A strong normal build helps less here than good Bagel-specific progression.
Do You Need 2M or 3M Investment to Get Z-Rank Valuables?
No. Rare Z-Rank Valuables can appear at 0 investment, though some are tied to specific maps, events, or bosses. Higher investment mainly improves Hematite potential, not access to every rare Valuable.
What Carries Over Between Operation Bagel Seasons?
Gear Coins, Season Coins, learned Blueprints, equipment, and purchased Safe expansions carry over. Seasonal commissions reset, while items marked Seasonal, such as the Inventory Expansion Plug-In, do not persist.
How Do You Get the Break-Even Beacon in Operation Bagel?
Farm real Briefcases on Hard or High-Risk. The Break-Even Beacon is a random Briefcase drop. Do not confuse Briefcases with containers labeled Search Supply, which do not use the same loot pool.
What Do You Lose If You Die or Retreat in High-Risk?
You lose the items carried outside your Safe slots. Put Blueprints, rare Valuables, and other irreplaceable drops into the Safe before taking risks or retreating.
Does Higher Investment Increase Blueprint Drop Rates?
There is currently no confirmed evidence that 2M or 3M investment improves Gear Box Blueprint rates. If Blueprints are your goal, faster Gear Box resets are more efficient than raising investment just for drop chance.
Related Articles
ZZZ 3.3 Banner Leaks: Phoenix, Severian & 3.3 Reruns
ZZZ 3.2 Banners: Flintworks & Angels of Delusion Outfits